


OEM Integration#
1. Victron#
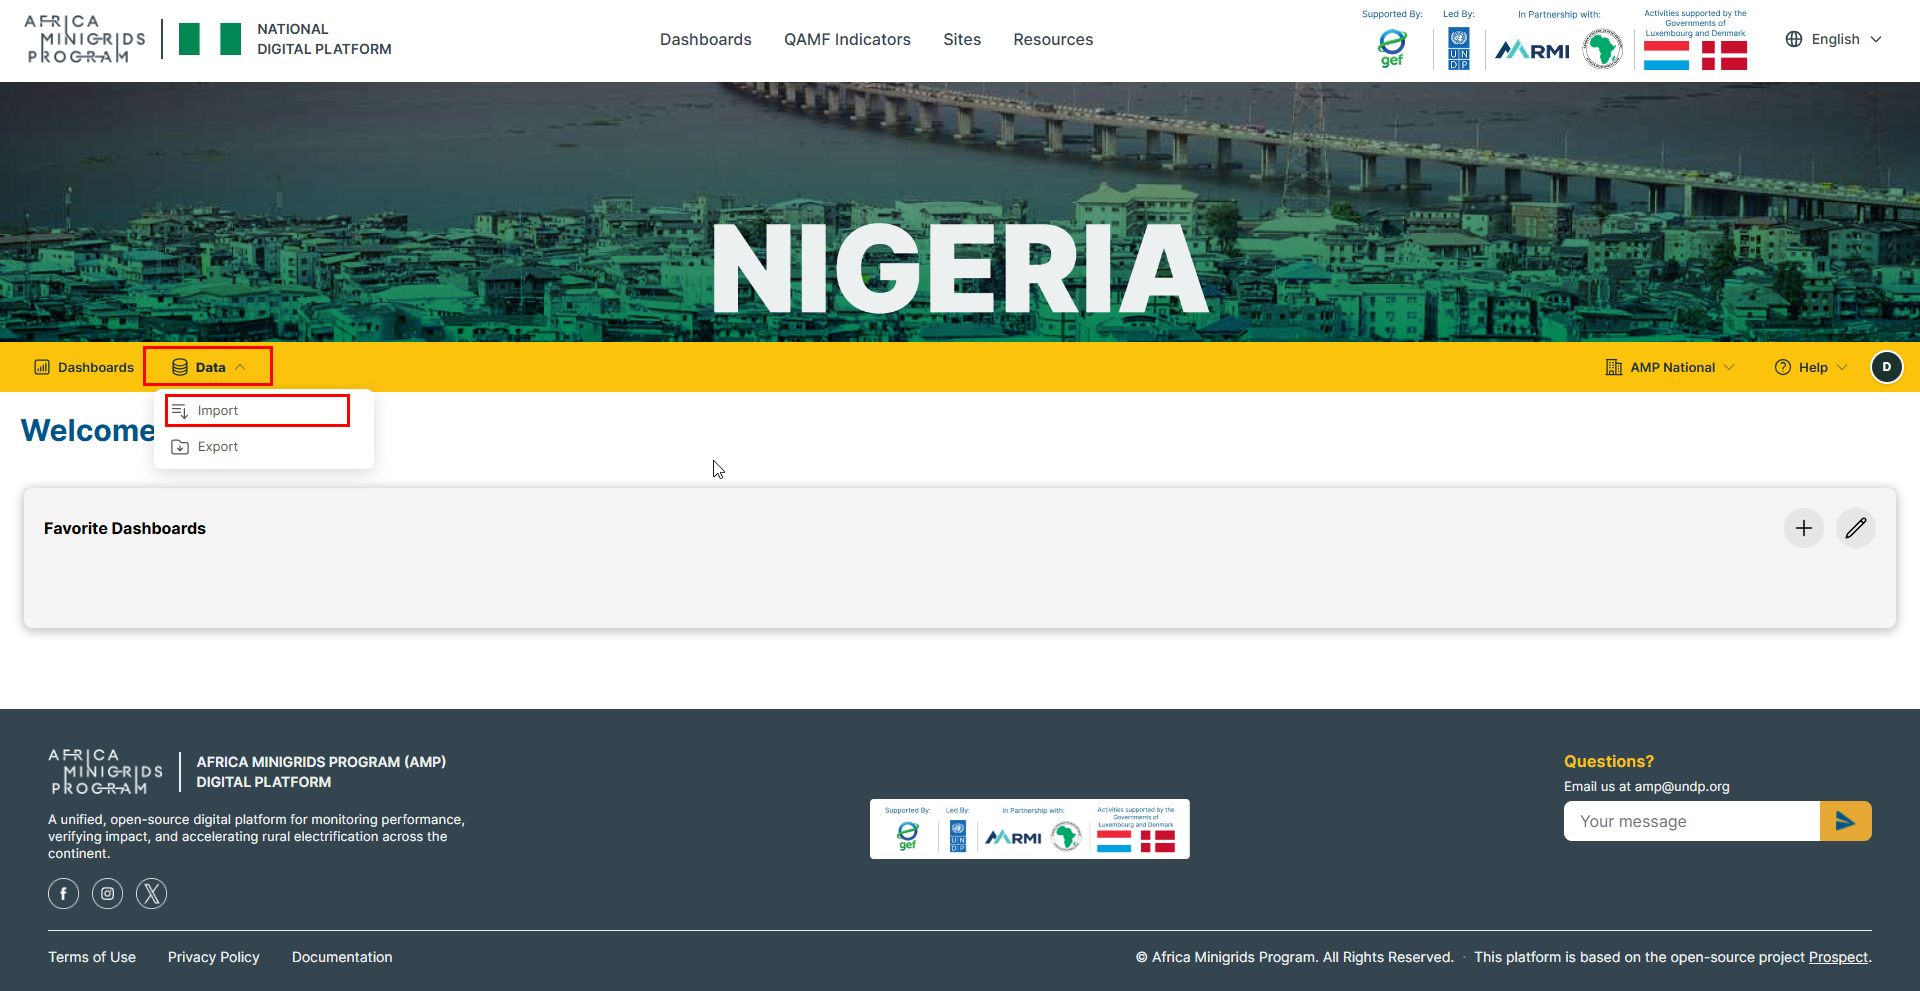
On the homepage, click
Dataand selectImport.
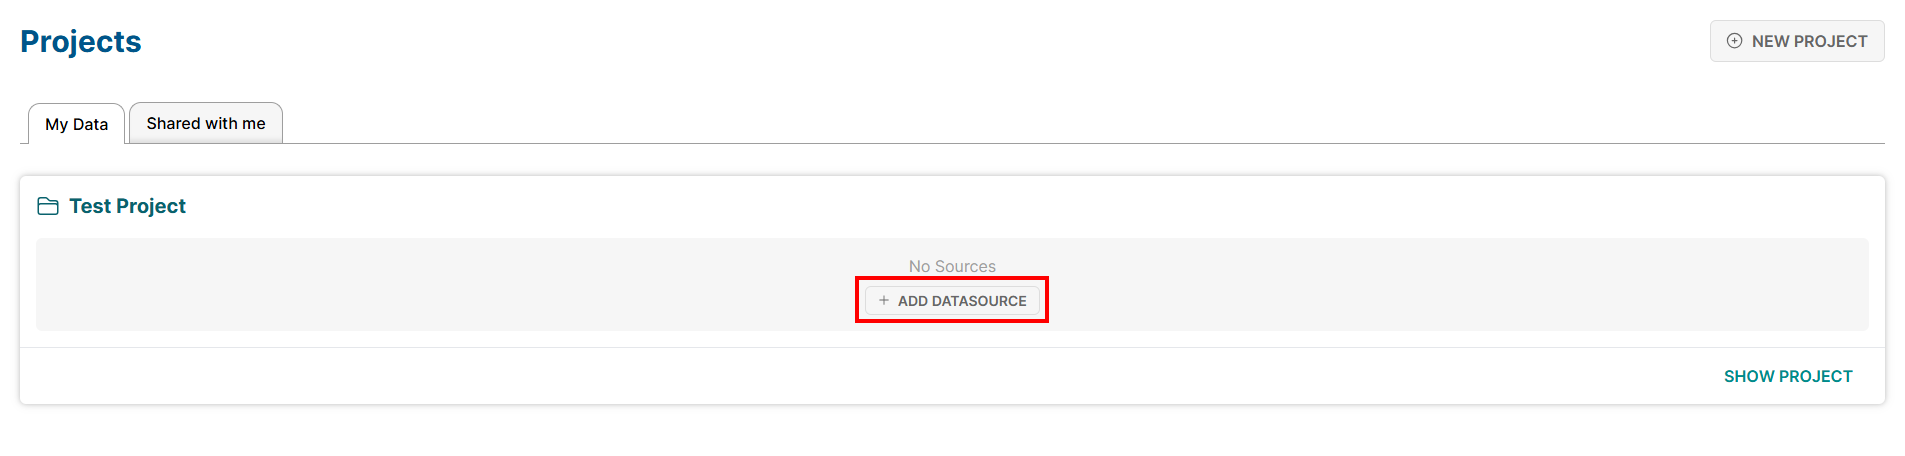
On your desired project, click |add_datasource_btn| to add a new data source.
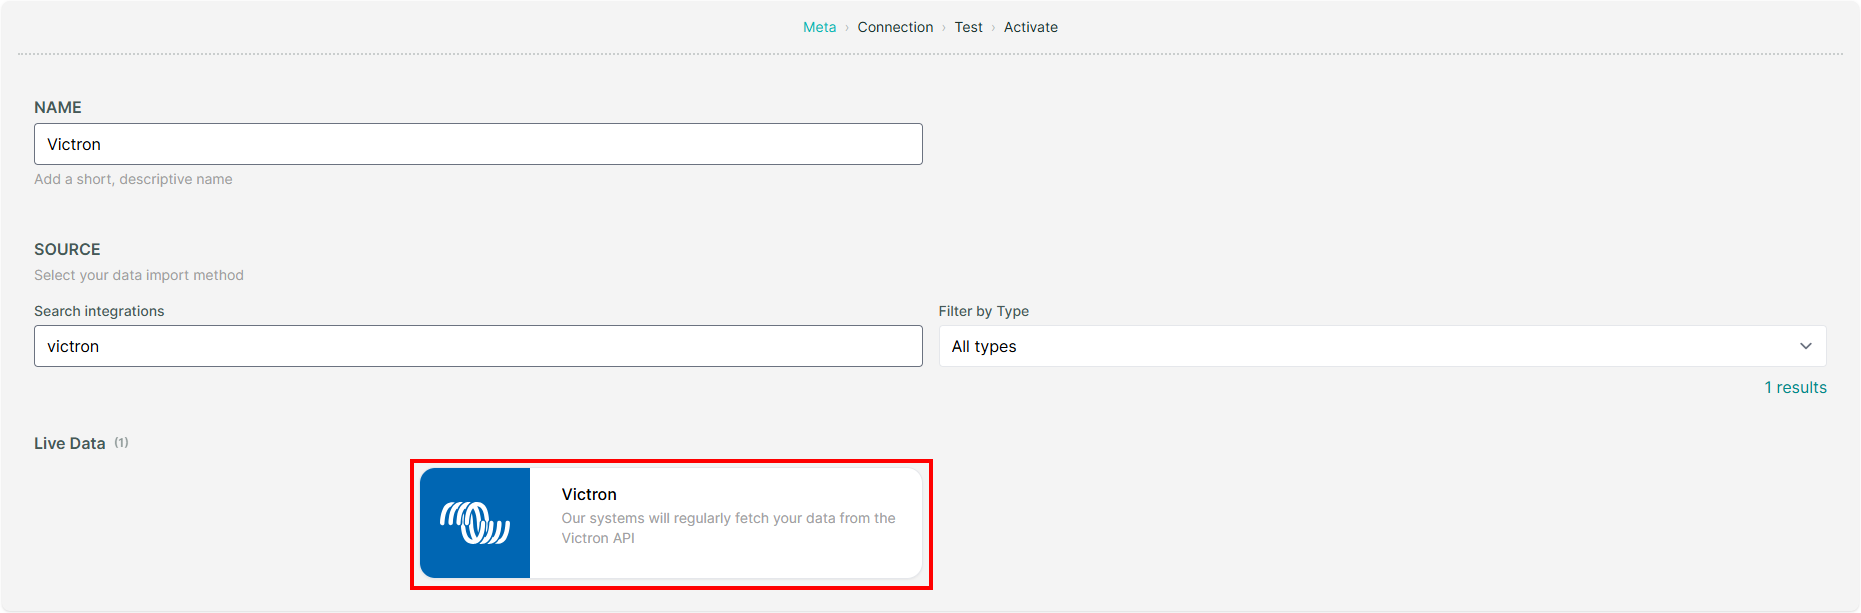
Provide a name for the data source and select
Victronas the source.
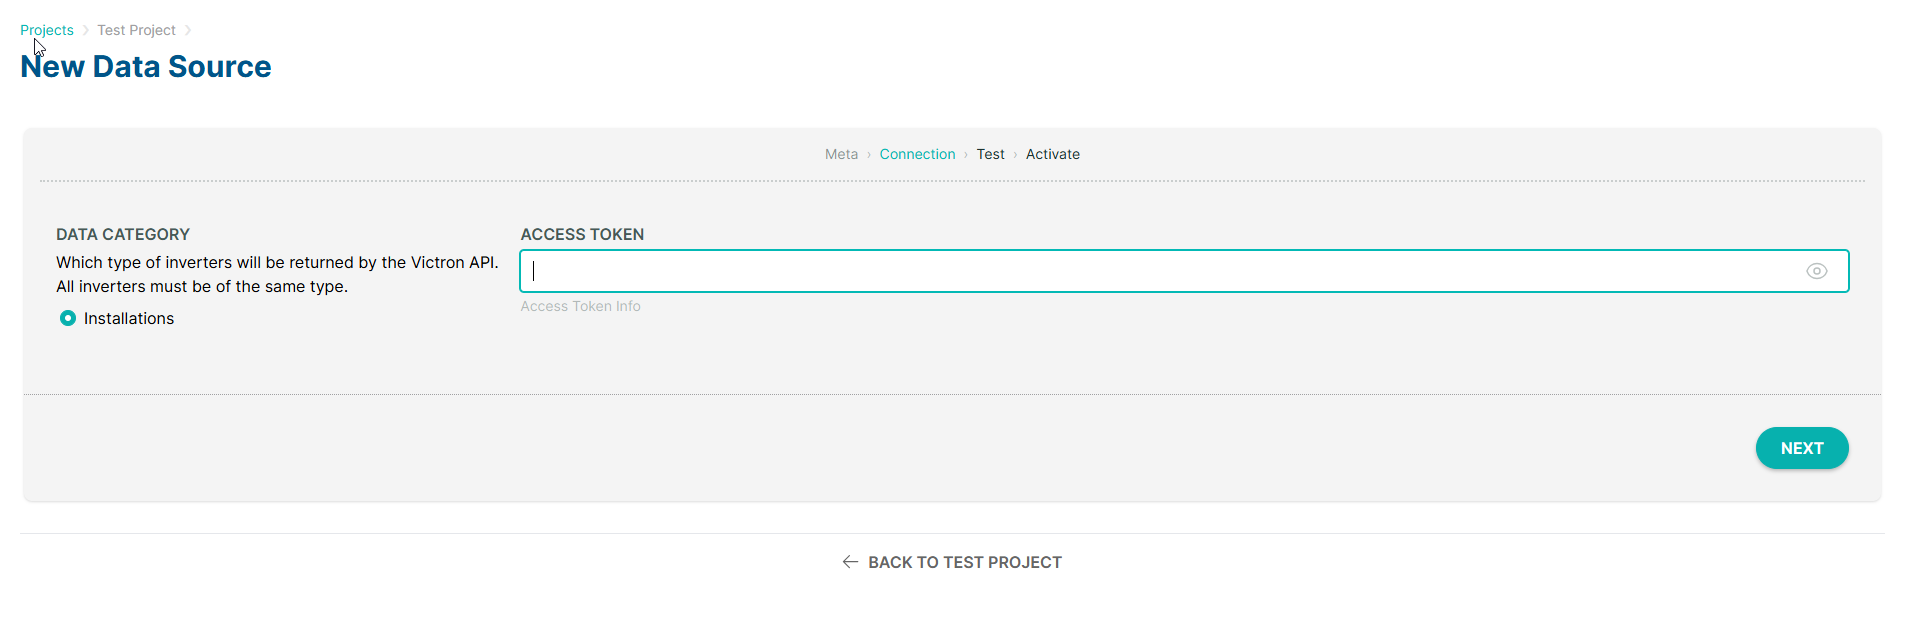
Provide your
*Access Token*and clickNEXT.
Hint
You can generate your access token from your VRM Portal under Settings > Preferences > Integrations > Add.
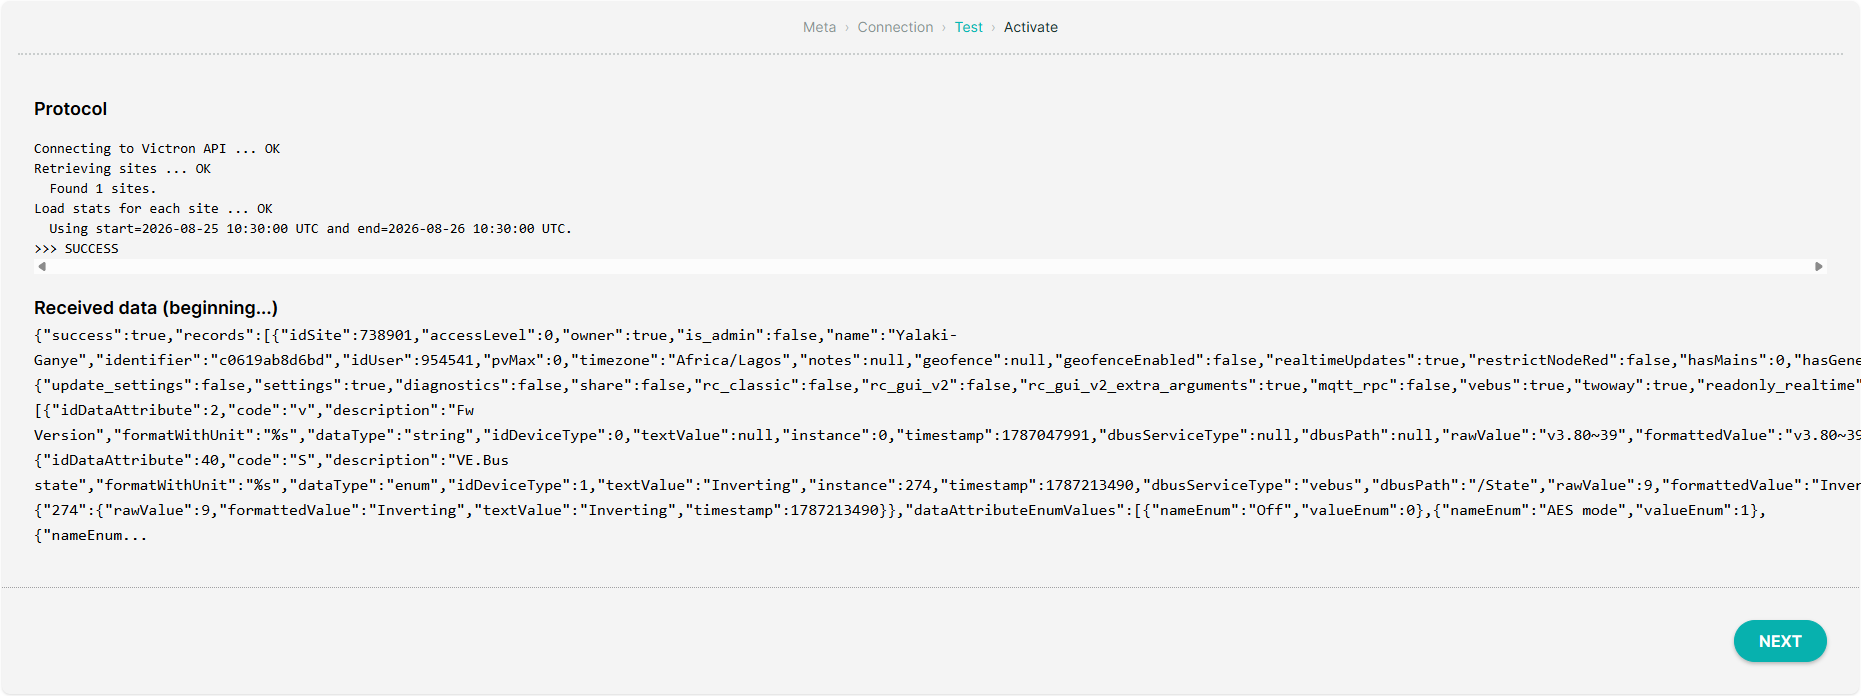
The platform will validate your connection to ensure the connection is successful. From here, you can click
NEXTto proceed.
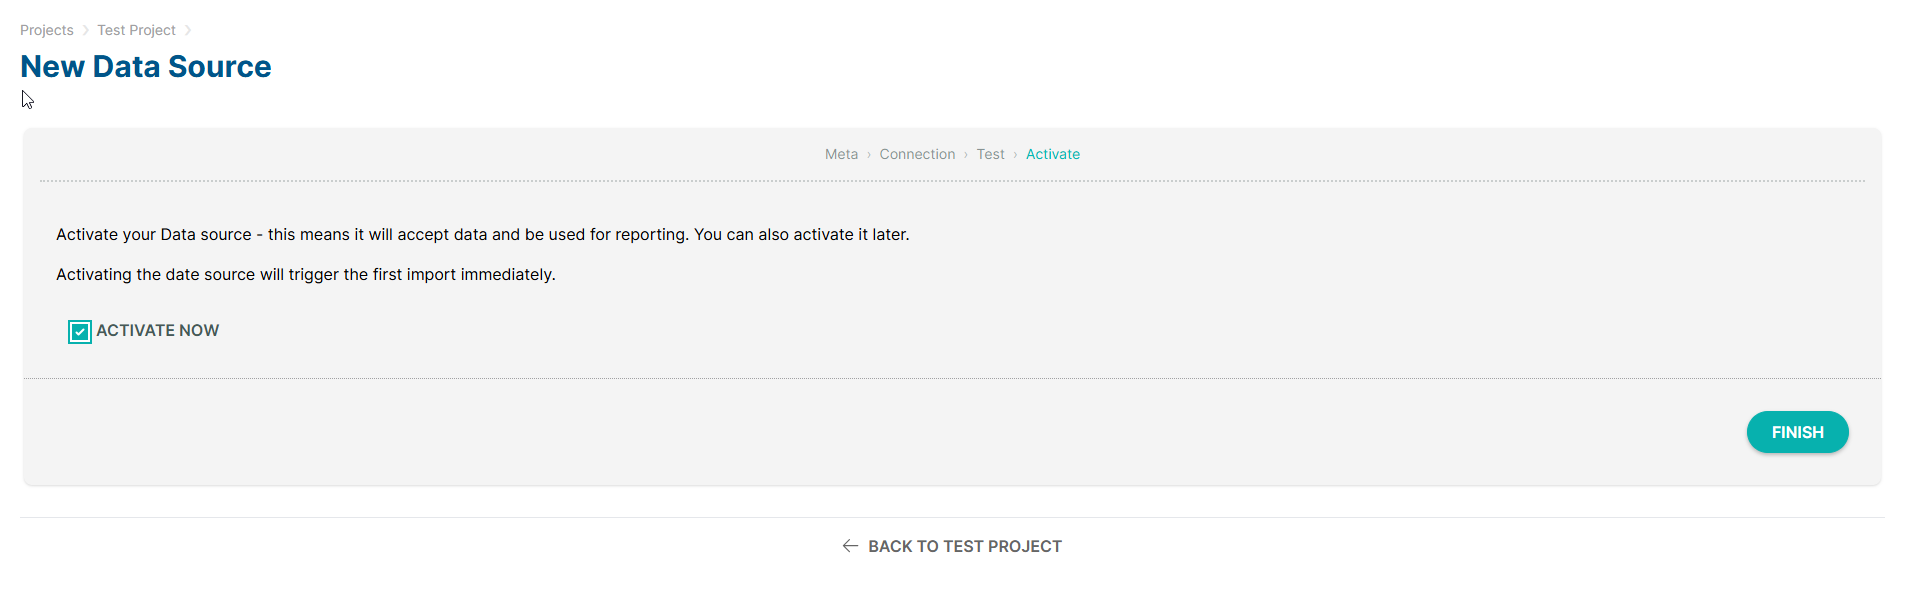
Activate the data source by checking the
ACTIVATE NOWcheckbox and clickFINISH.
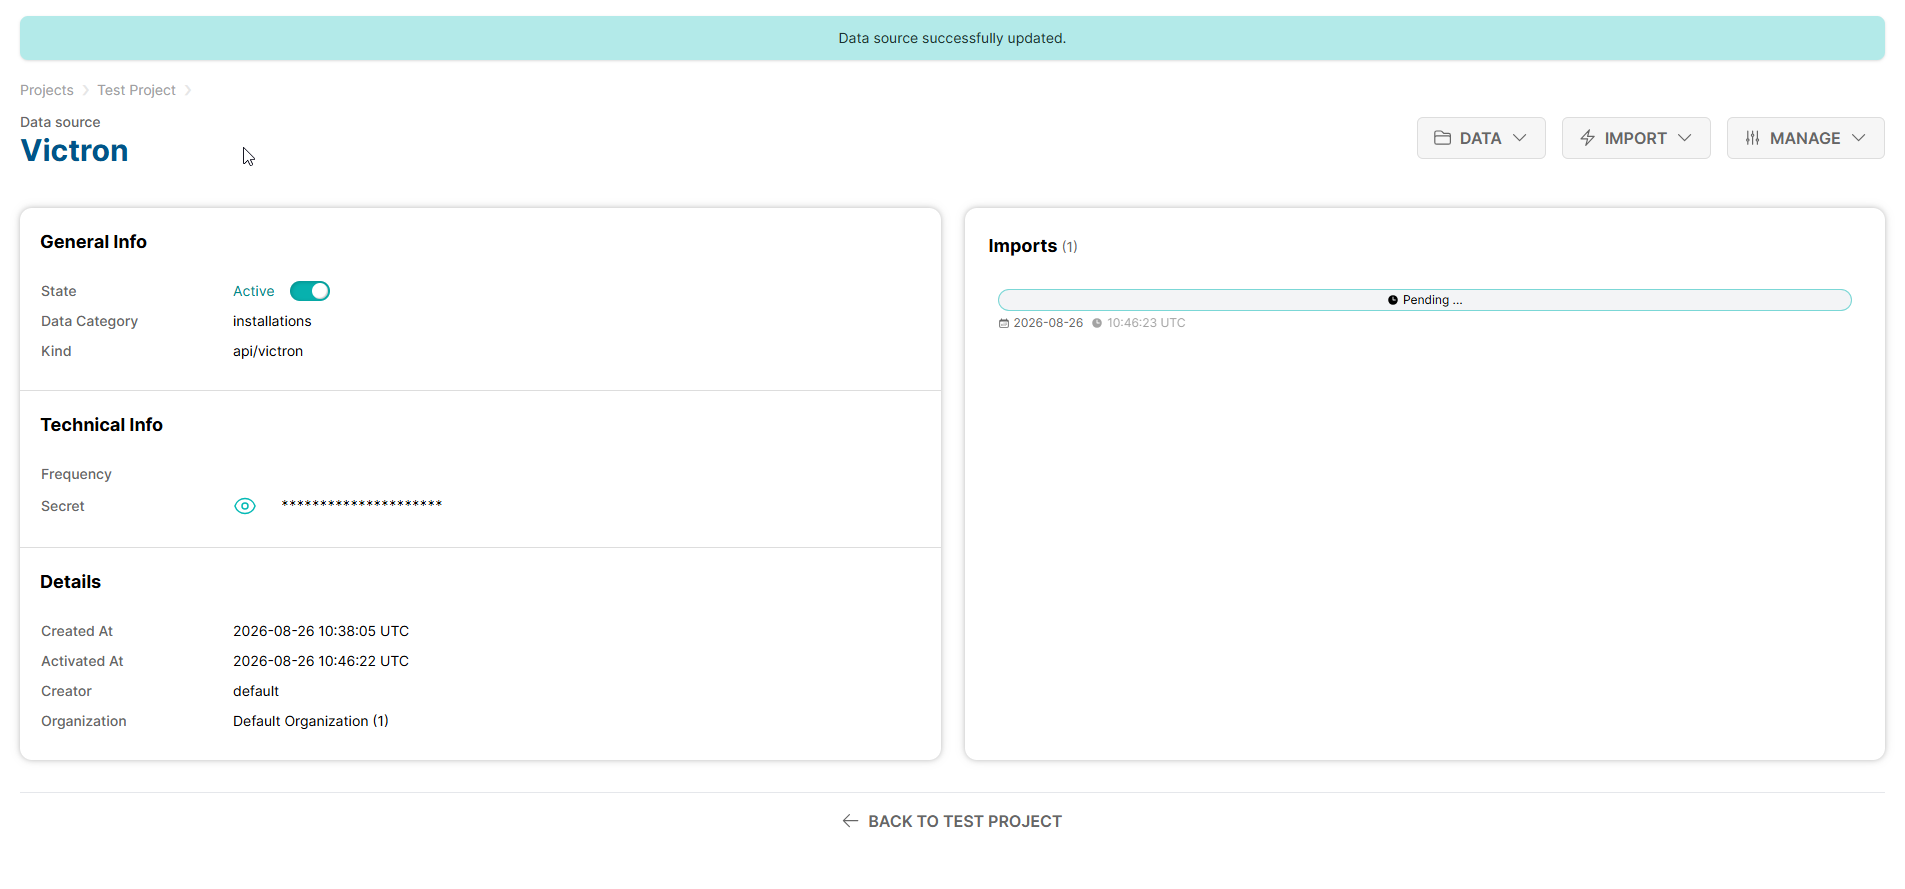
The platform will now start collecting data from your Victron devices and you can view the data on the platform.
2. Steamaco#
On the homepage, click
Dataand selectImport.
On your desired project, click |add_datasource_btn| to add a new data source.
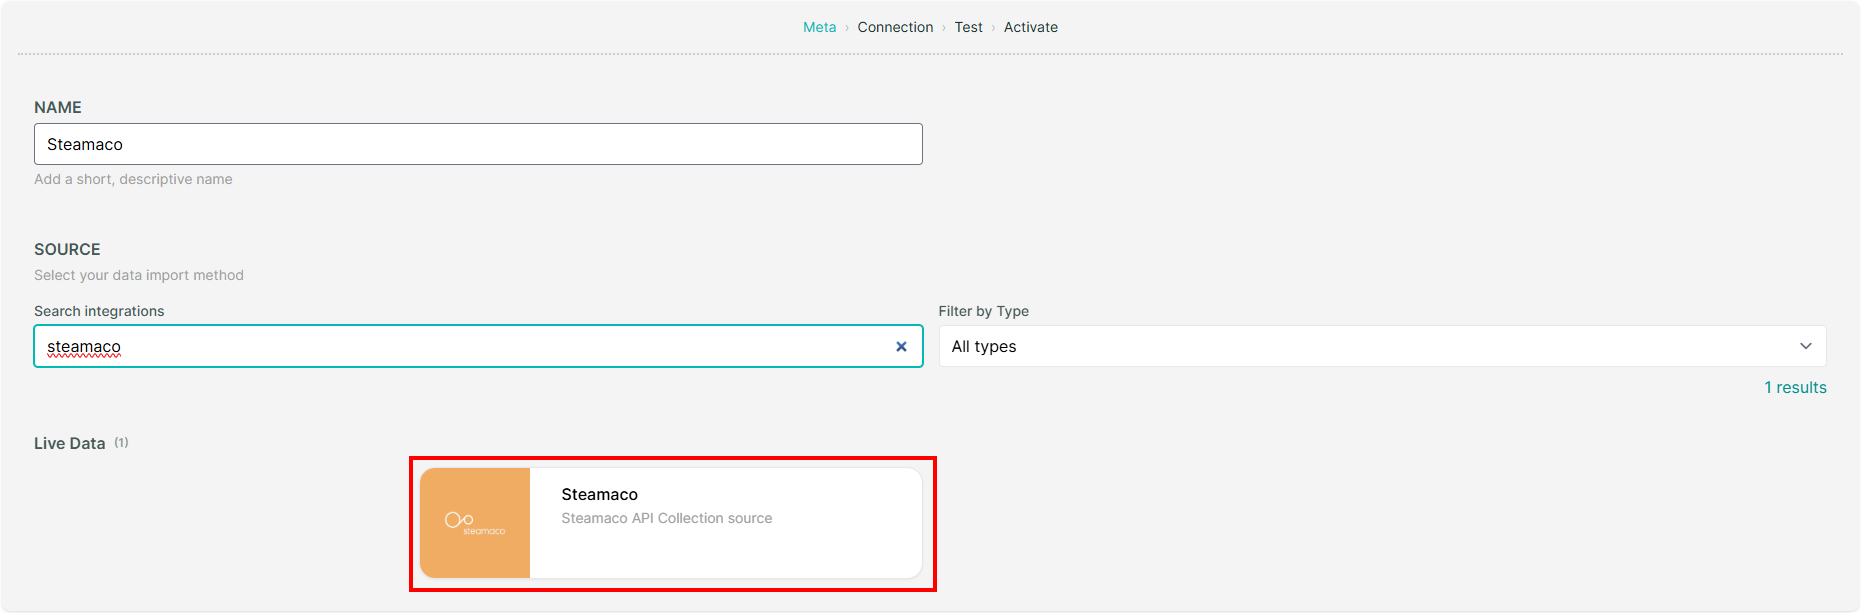
Provide a name for the data source and select
Steamacoas the source.
Provide your Steamaco
*Username*and*Password*and clickNEXT.
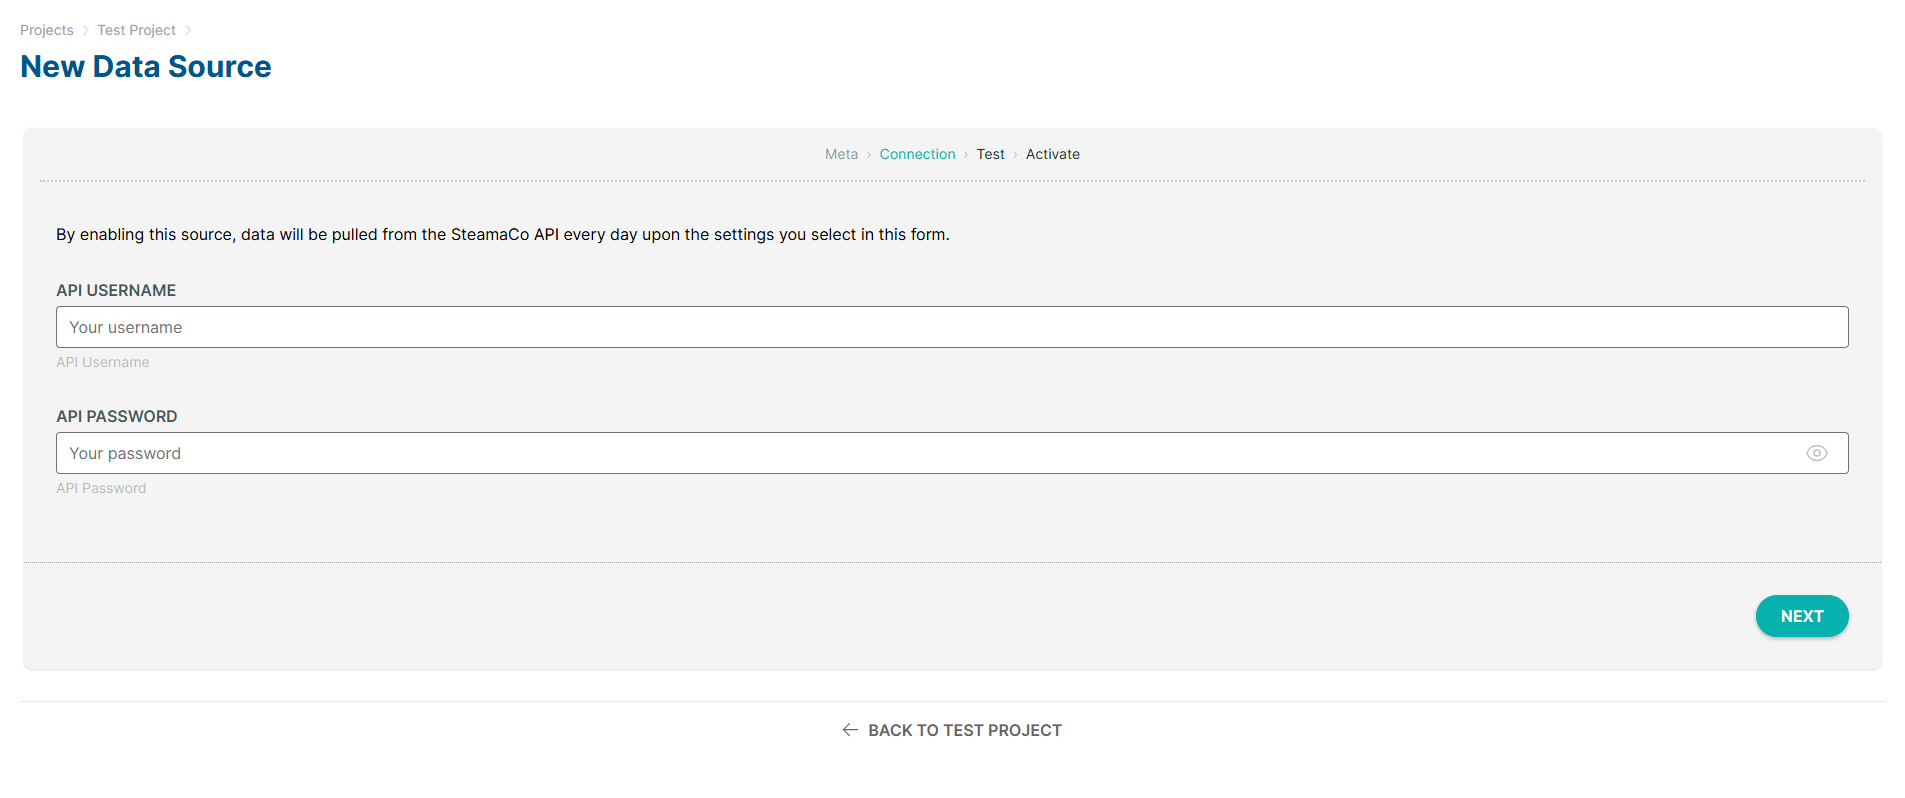
Hint
To obtain your Steamaco credentials, please contact your Steamaco representative or steamaco support.
The platform will validate your connection to ensure the connection is successful. From here, you can click
NEXTto proceed.
Activate the data source by checking the
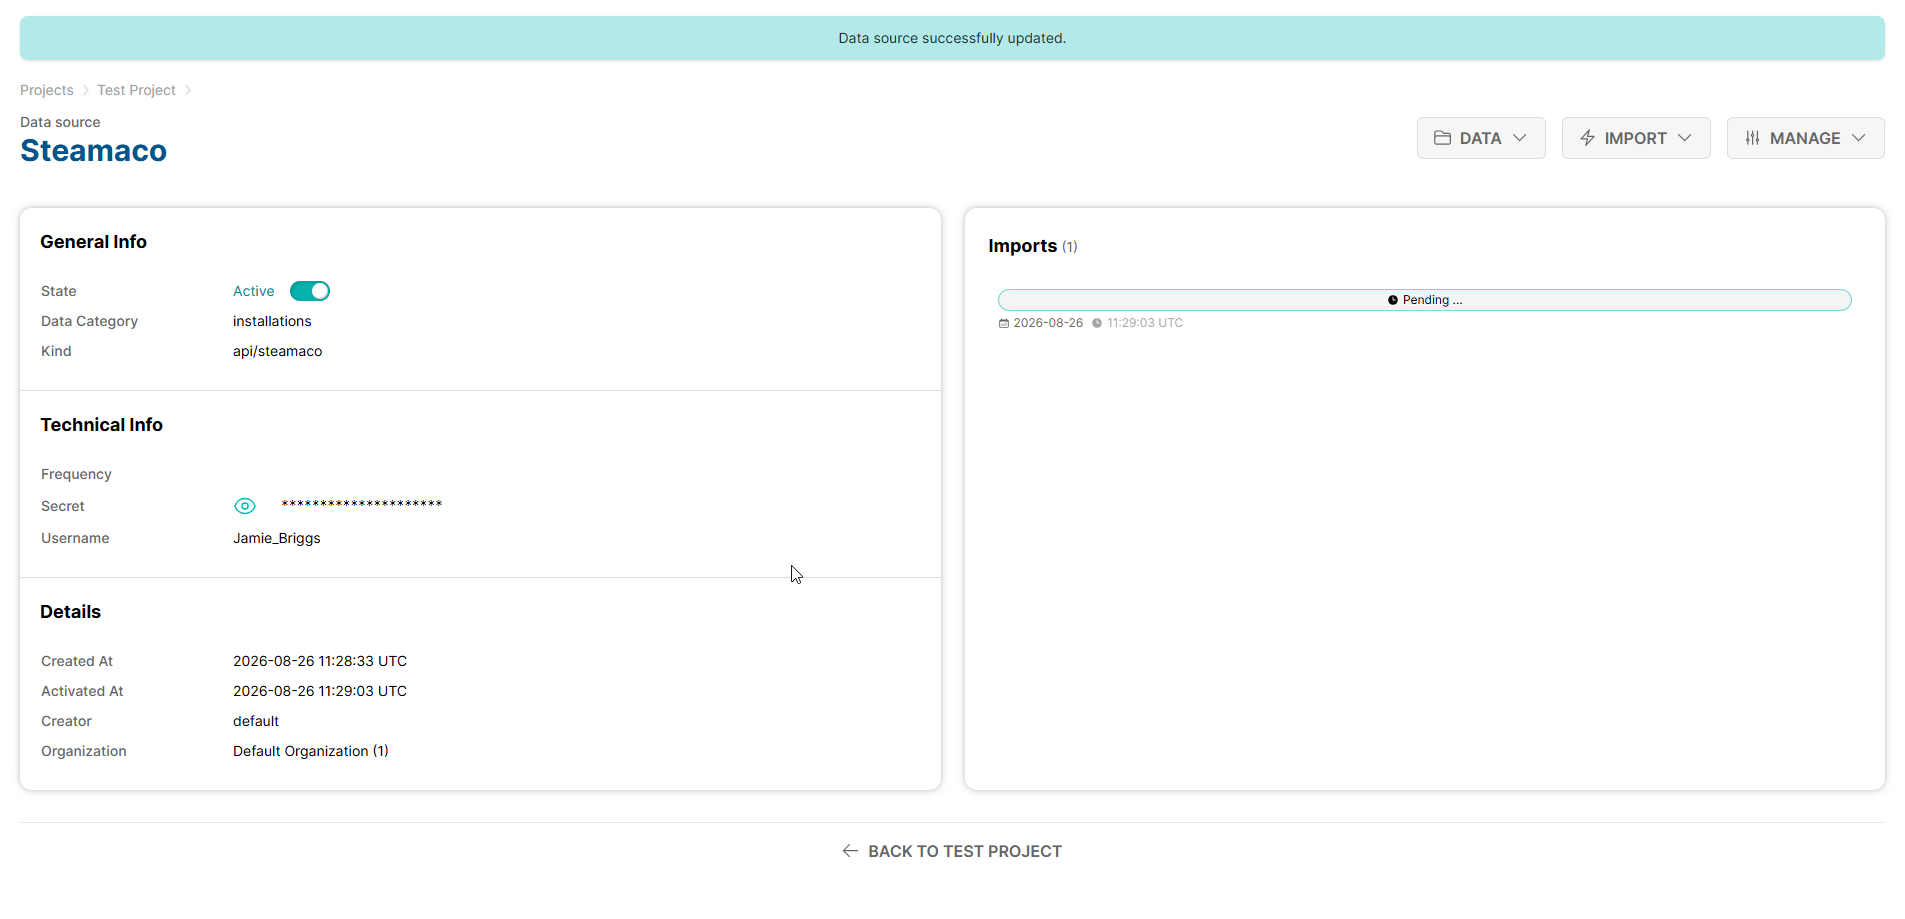
ACTIVATE NOWcheckbox and clickFINISH.
The platform will now start collecting data from your Steamaco devices and you can view the data on the platform.
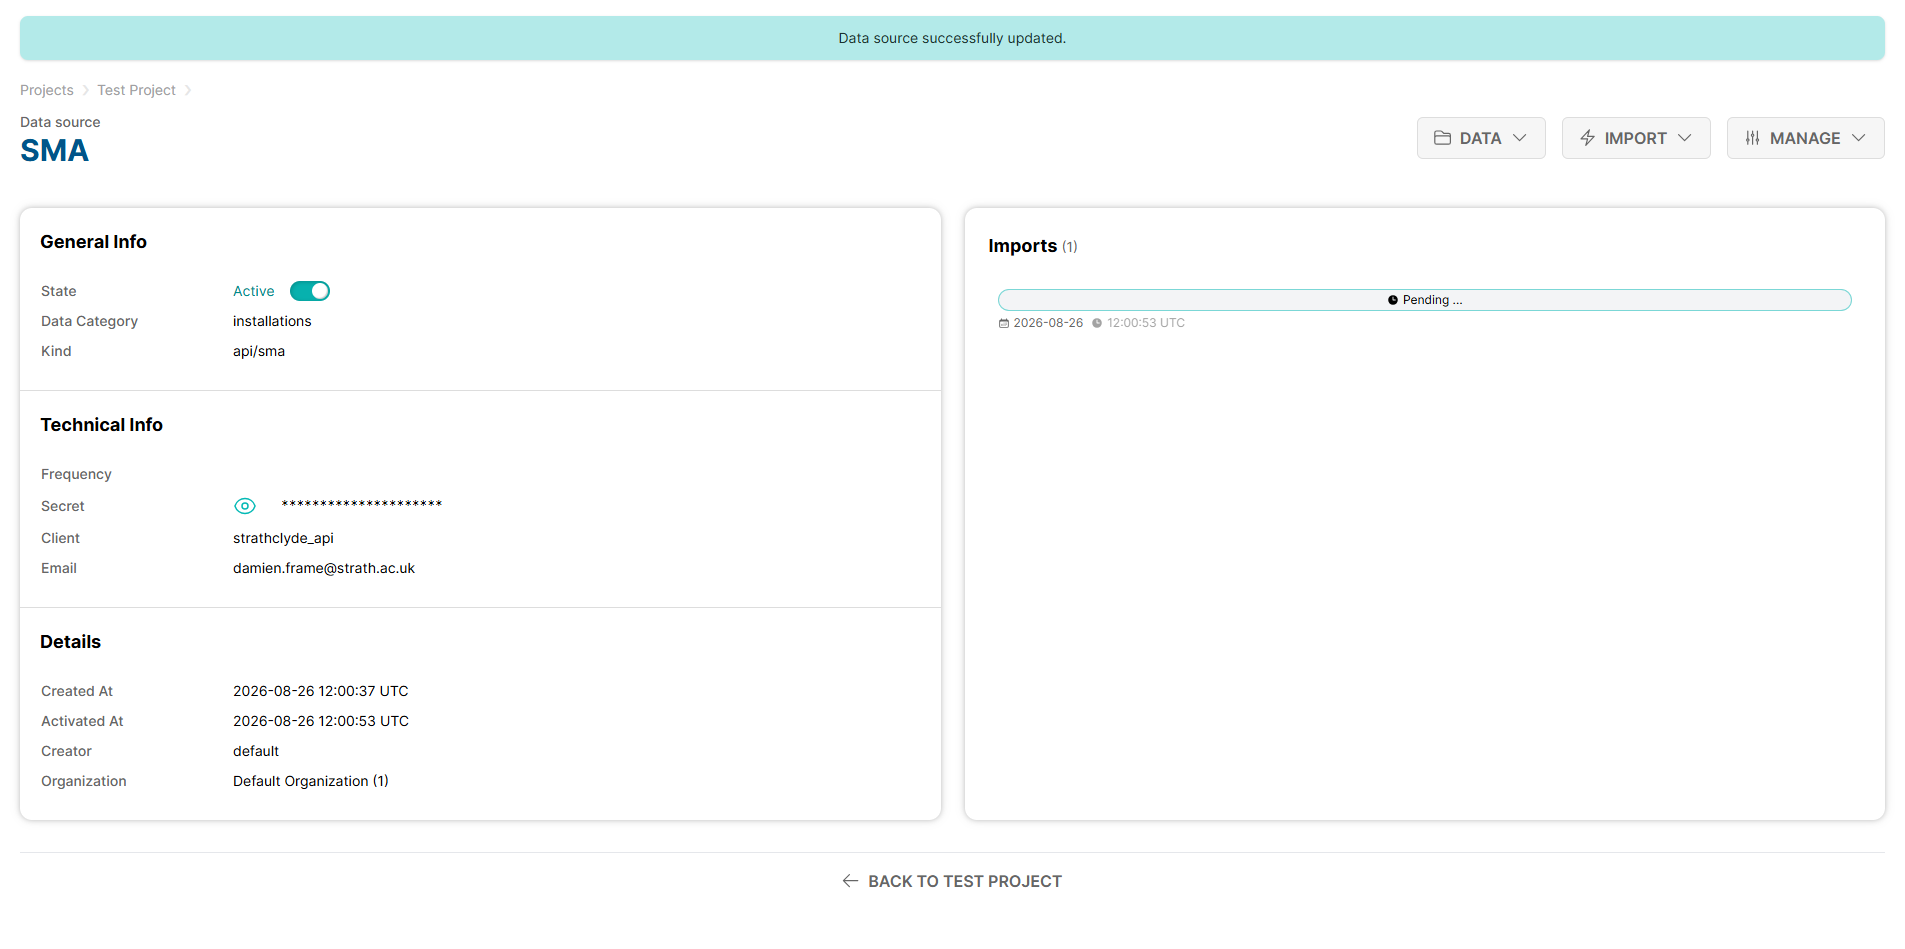
3. SMA#
On the homepage, click
Dataand selectImport.
On your desired project, click |add_datasource_btn| to add a new data source.
Provide a name for the data source and select
SMAas the source.
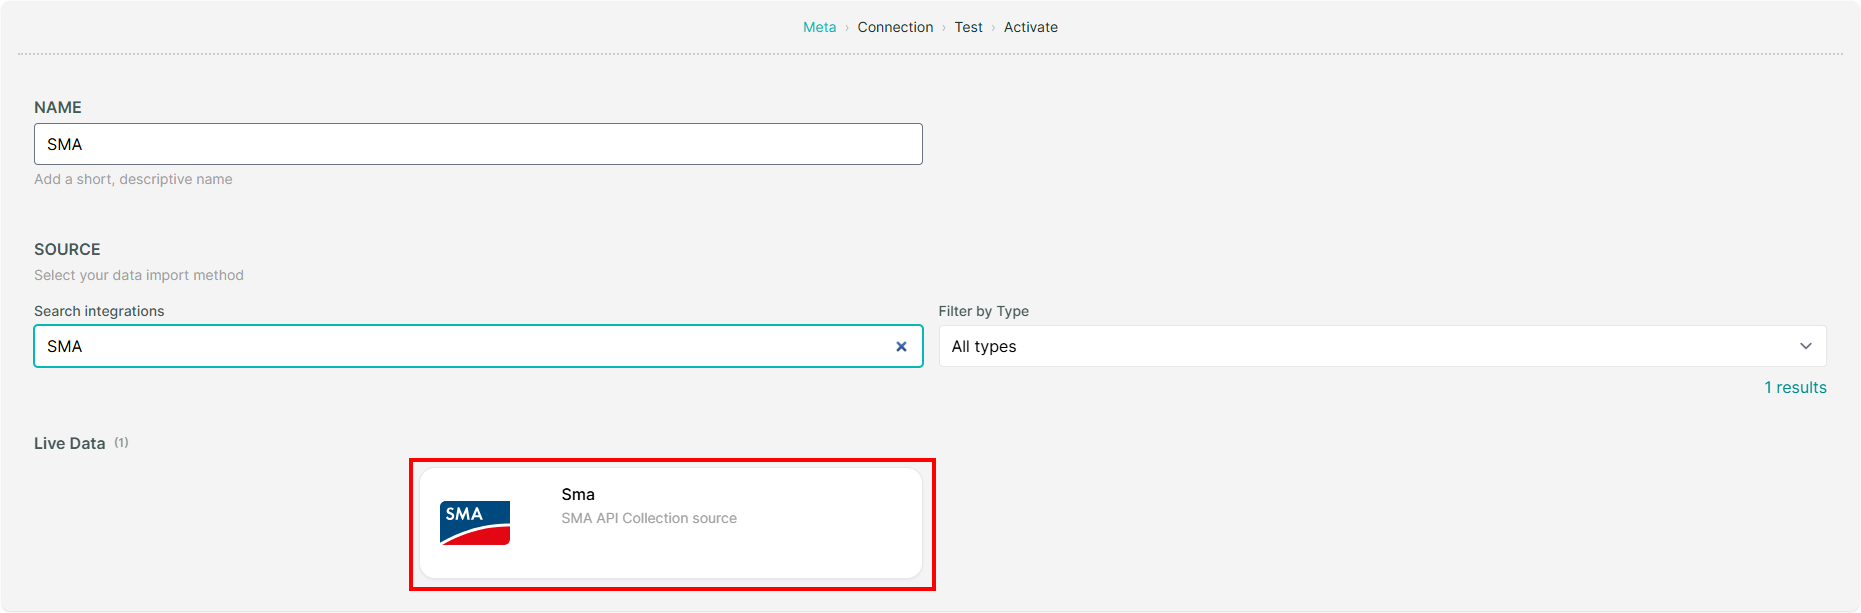
Provide your SMA
*Client ID*and*Client Secret*and the*Email of the resource owner*and clickNEXT.
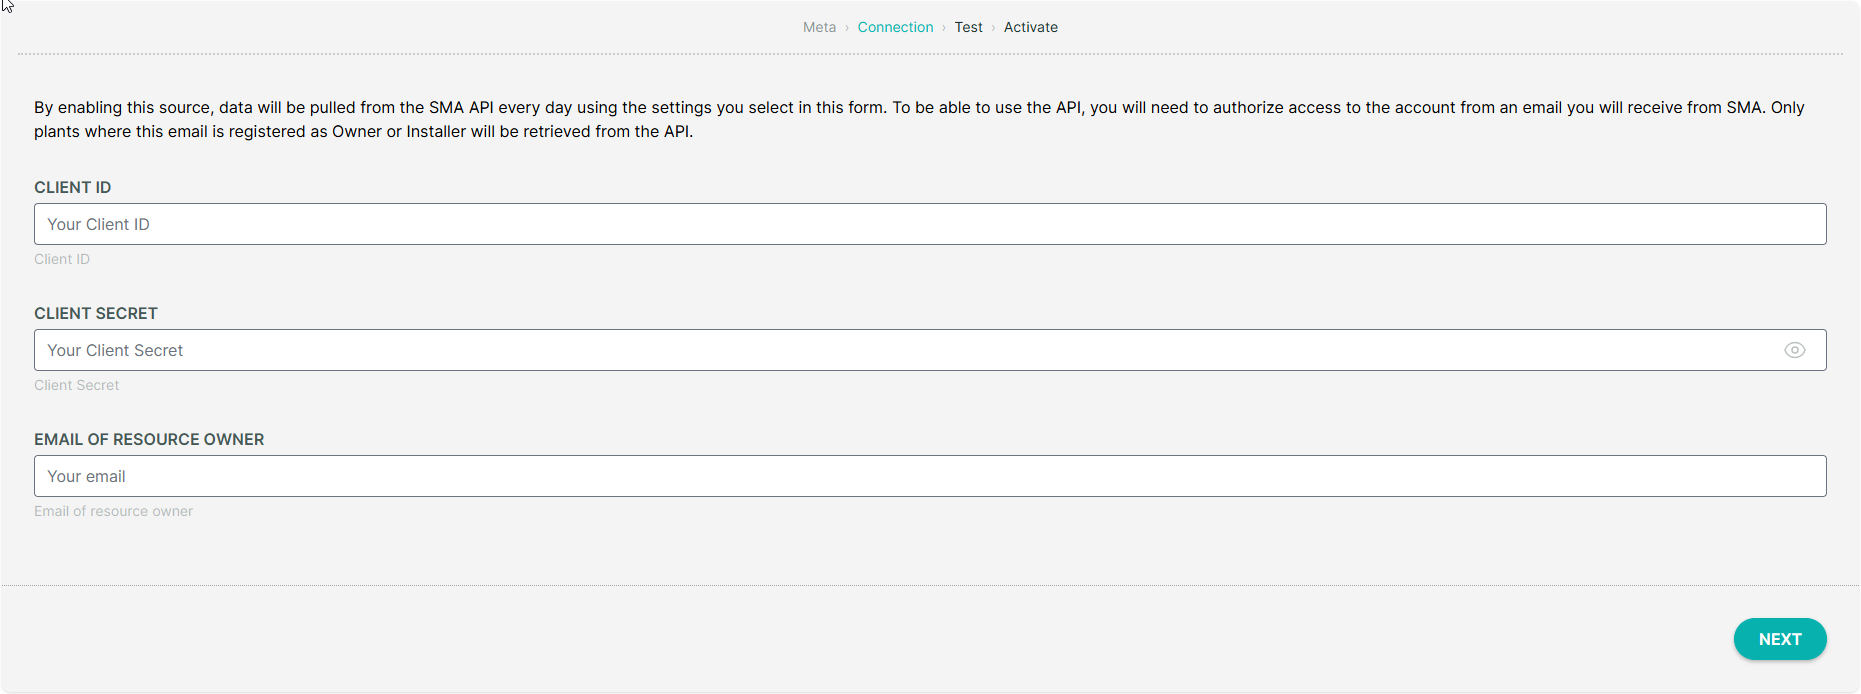
Hint
To obtain your SMA credentials, please contact your SMA representative or SMA support.
The platform will validate your connection to ensure the connection is successful. From here, you can click
NEXTto proceed.
Activate the data source by checking the
ACTIVATE NOWcheckbox and clickFINISH.
The platform will now start collecting data from your SMA devices and you can view the data on the platform.
4. Spark Meter#
On the homepage, click
Dataand selectImport.
On your desired project, click |add_datasource_btn| to add a new data source.
Provide a name for the data source and select
Spark Meteras the source.
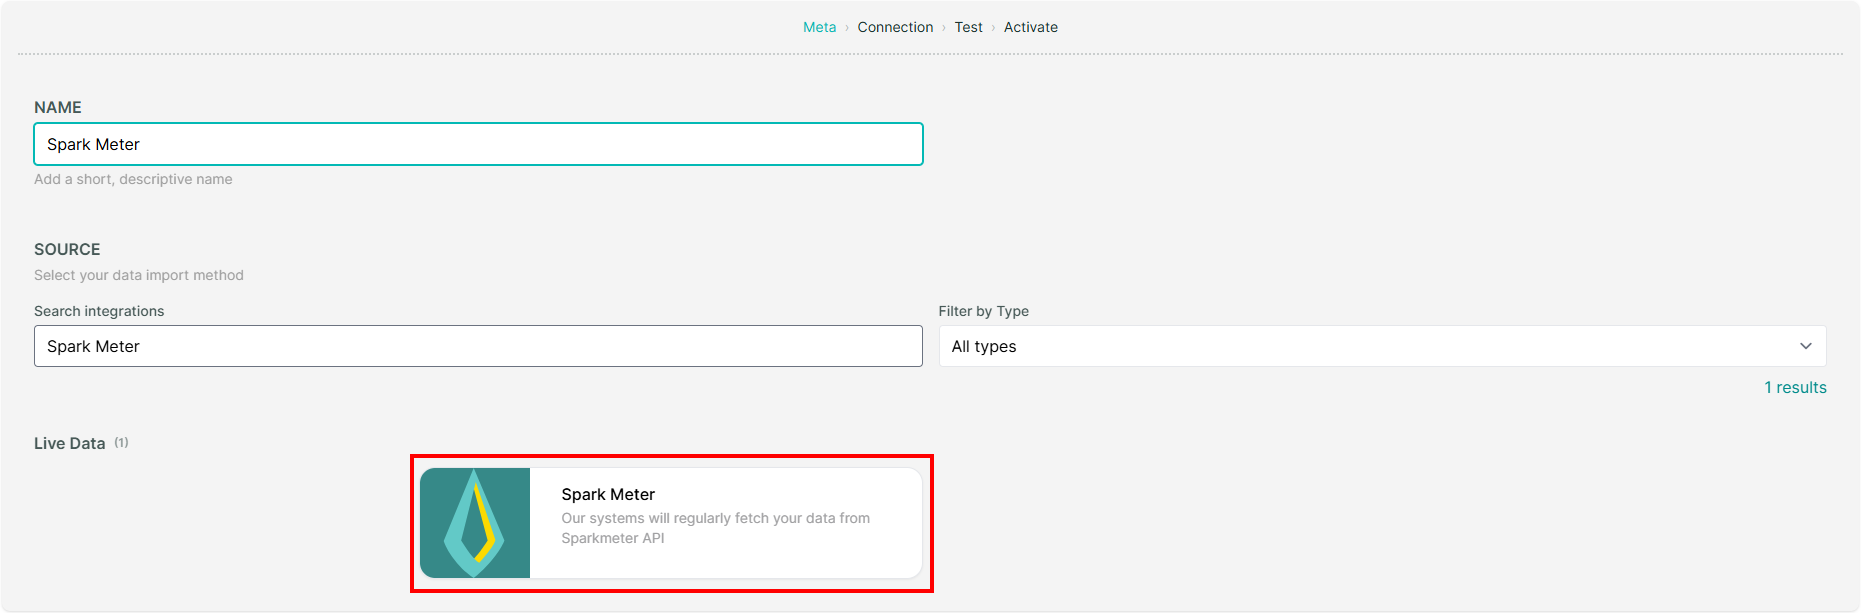
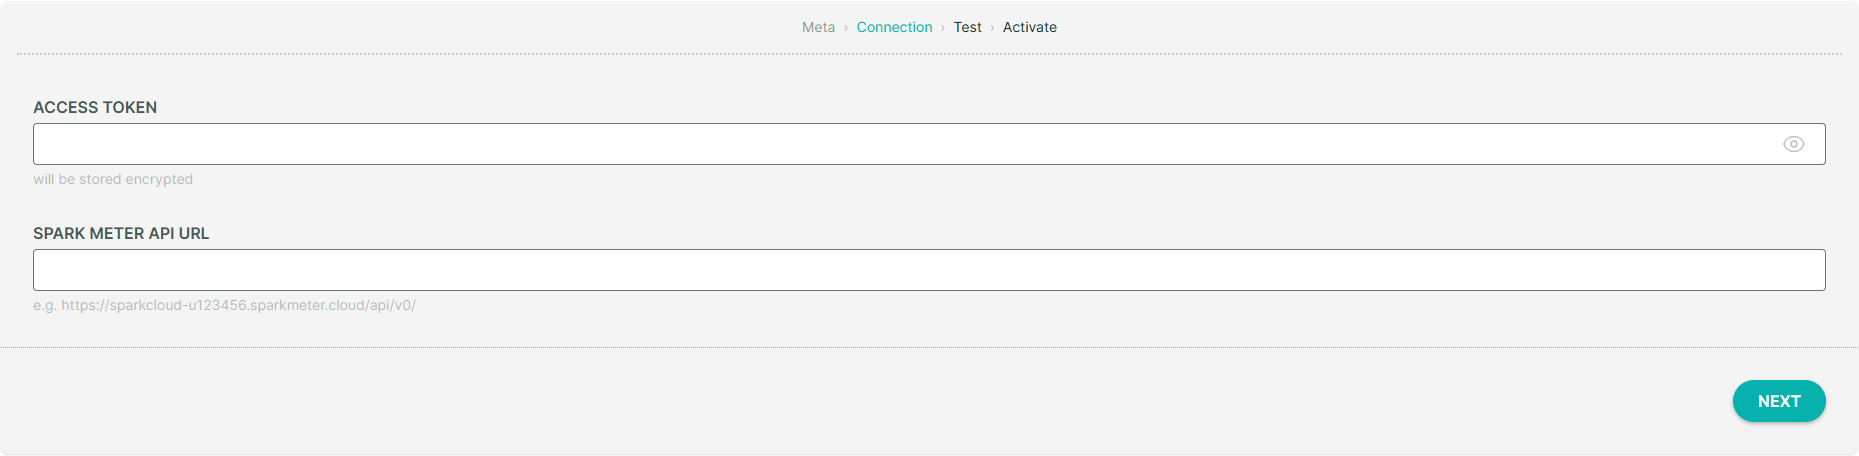
Provide your Spark Meter
*Access Token*, and*Spark Meter API URL*and clickNEXT.
Hint
To obtain your Spark Meter credentials, please contact your Spark Meter representative or Spark Meter support.
The platform will validate your connection to ensure the connection is successful. From here, you can click
NEXTto proceed.
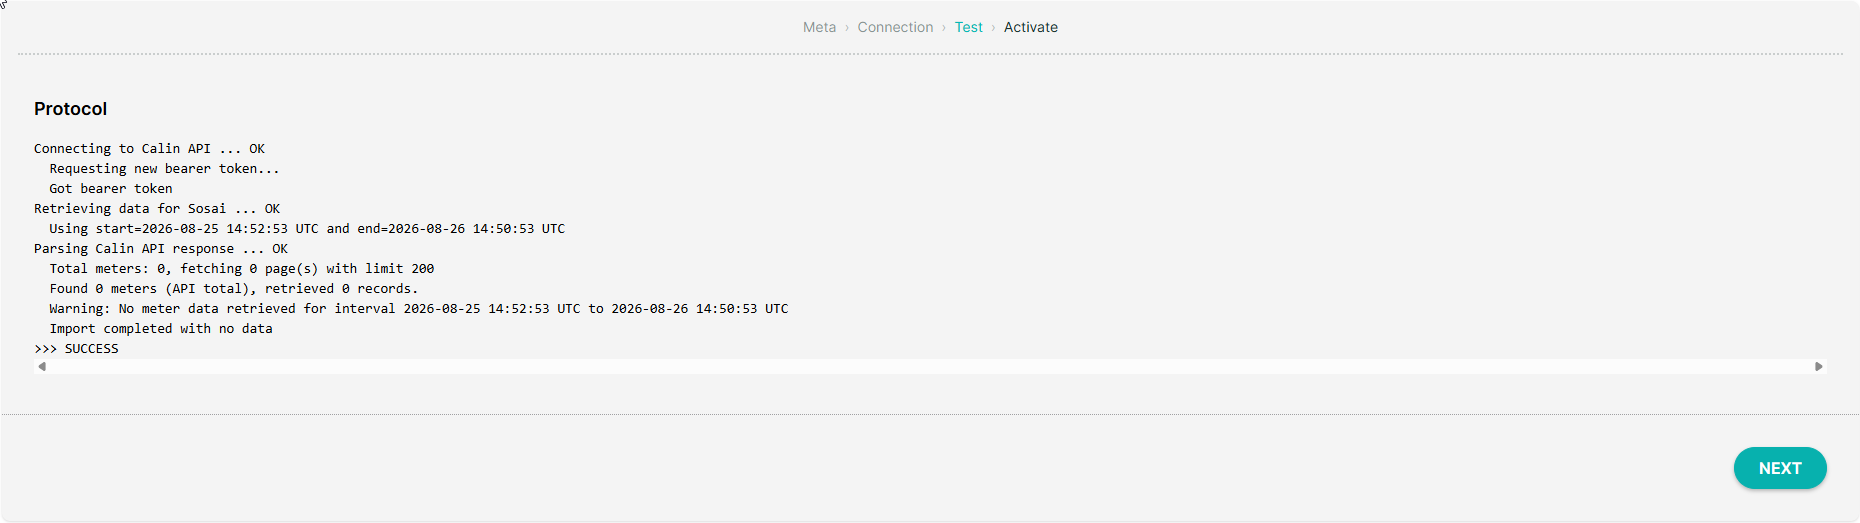
Activate the data source by checking the
ACTIVATE NOWcheckbox and clickFINISH.
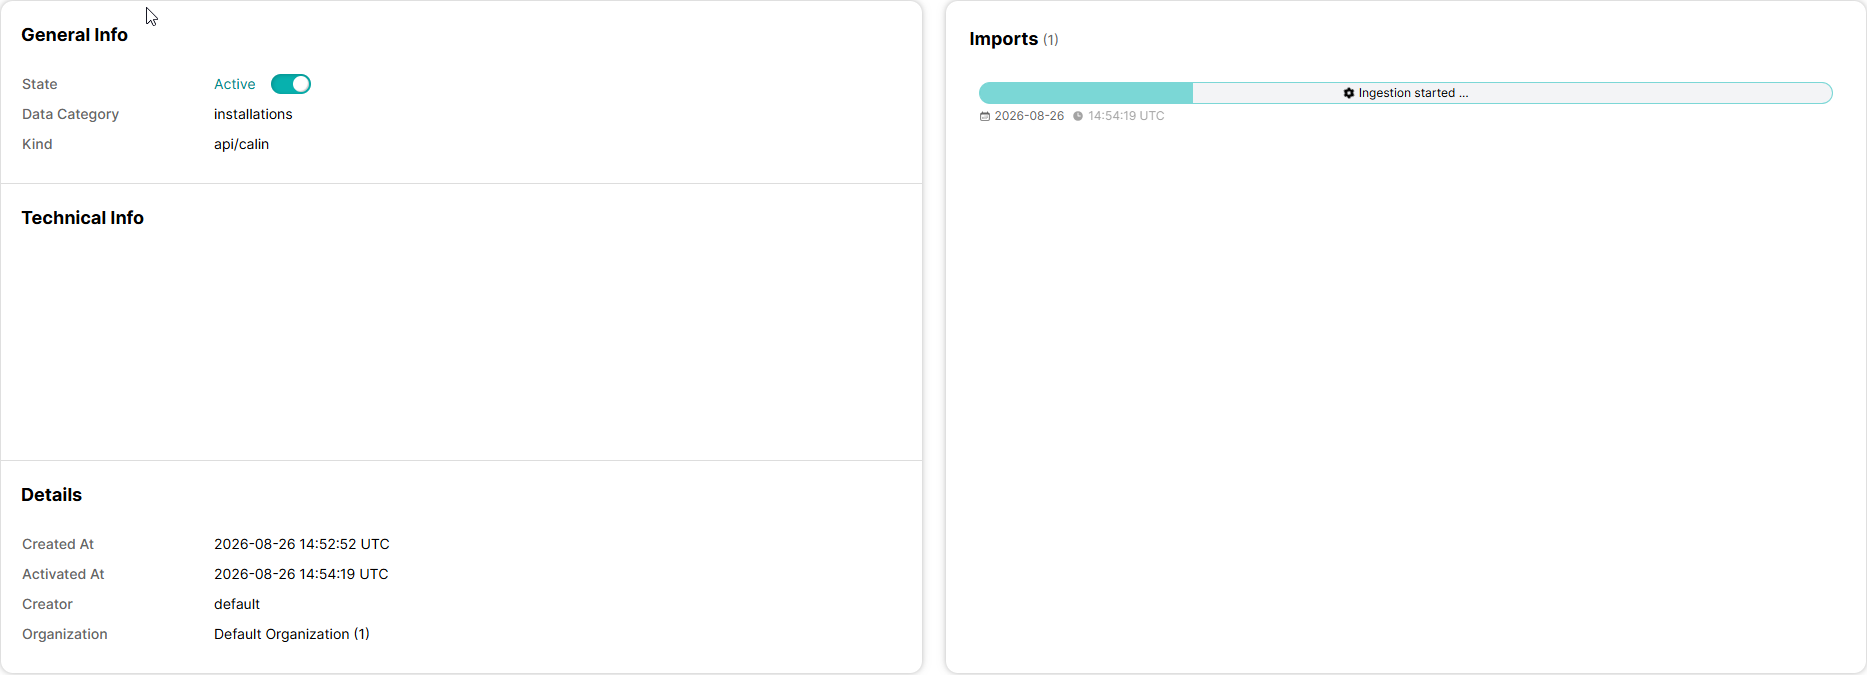
The platform will now start collecting data from your Calin devices and you can view the data on the platform.
5. Deye#
On the homepage, click
Dataand selectImport.
On your desired project, click |add_datasource_btn| to add a new data source.
Provide a name for the data source and select
Deyeas the source.
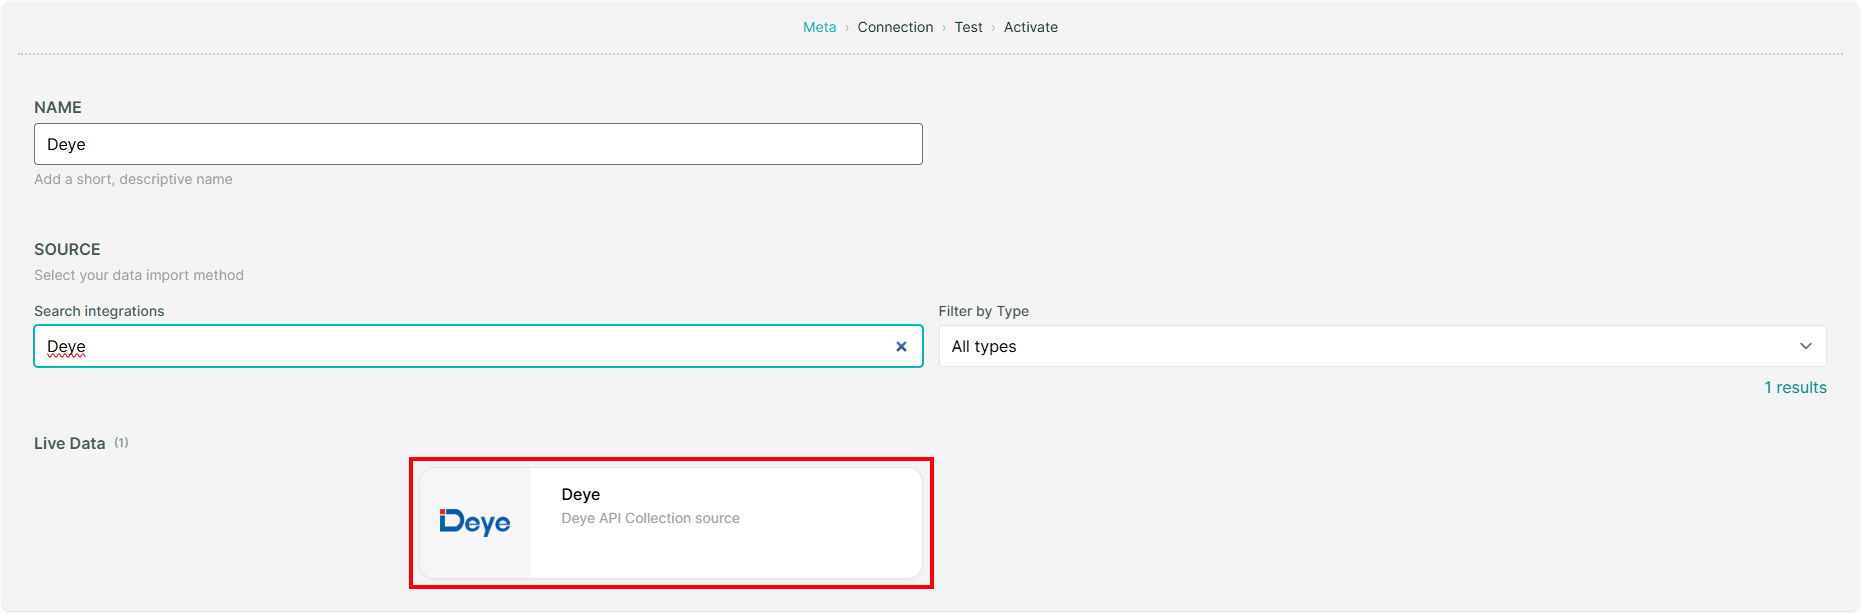
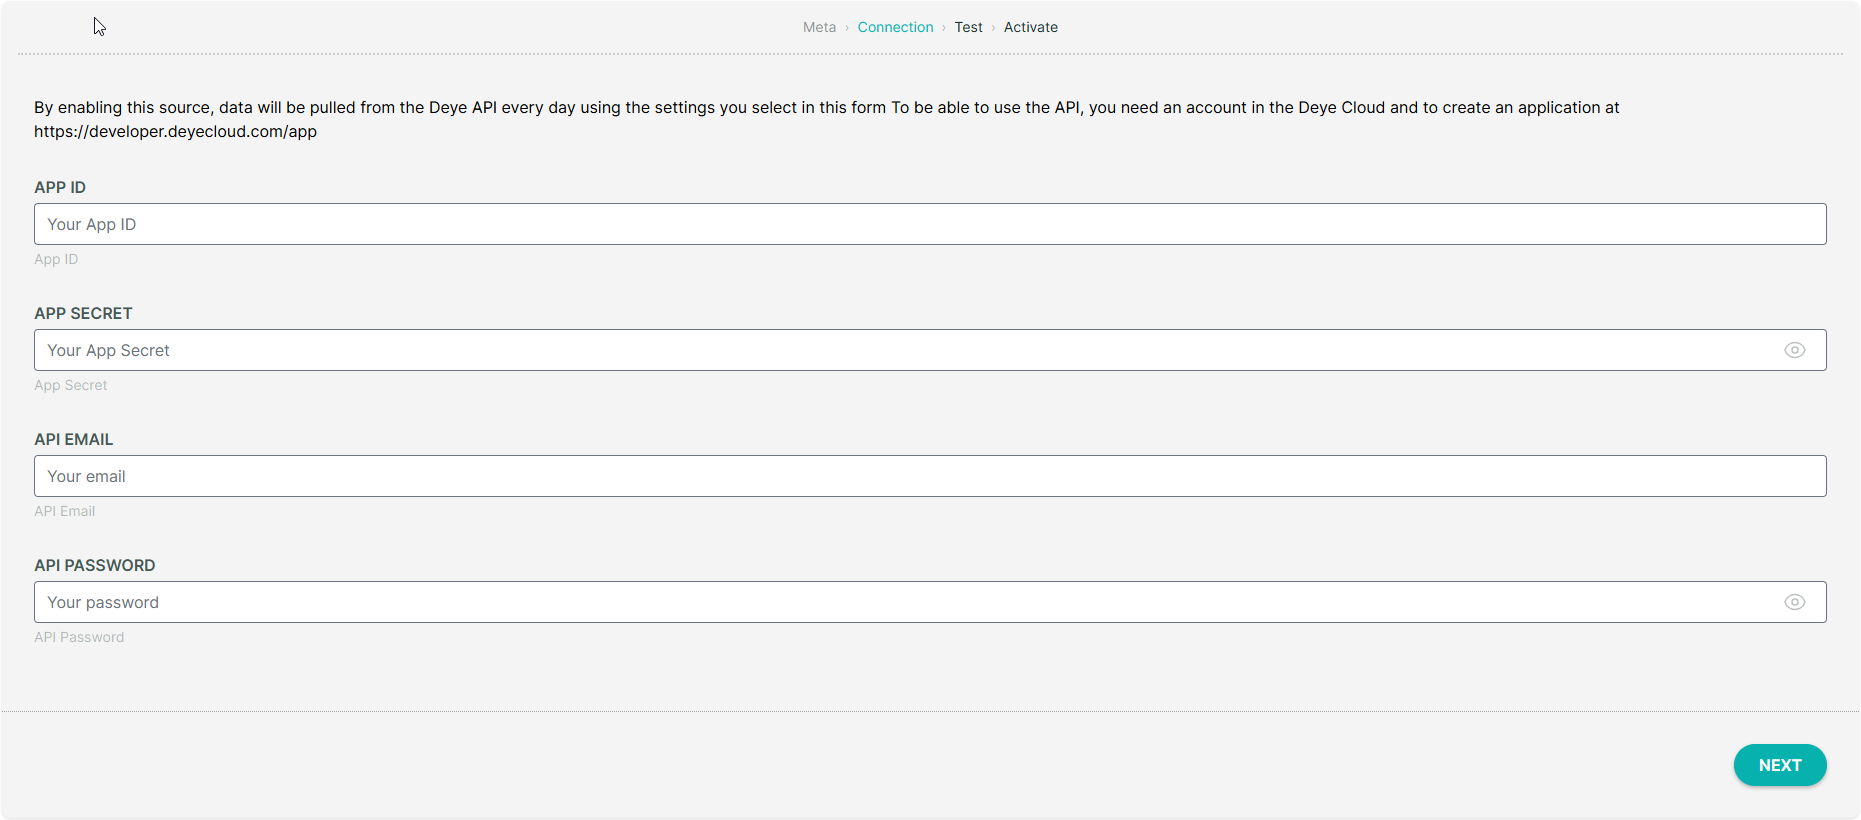
Provide your Deye
*App ID*,*App Secret*,*API Email*, and*API Password*and clickNEXT.
Hint
To obtain your Deye credentials, please contact your Deye representative or Deye support. You can create an account and generate your credentials on the Deye Developer Portal.
The platform will validate your connection to ensure the connection is successful. From here, you can click
NEXTto proceed.
Activate the data source by checking the
ACTIVATE NOWcheckbox and clickFINISH.
The platform will now start collecting data from your Calin devices and you can view the data on the platform.
6. Calin#
On the homepage, click
Dataand selectImport.
On your desired project, click |add_datasource_btn| to add a new data source.
Provide a name for the data source and select
Calinas the source.
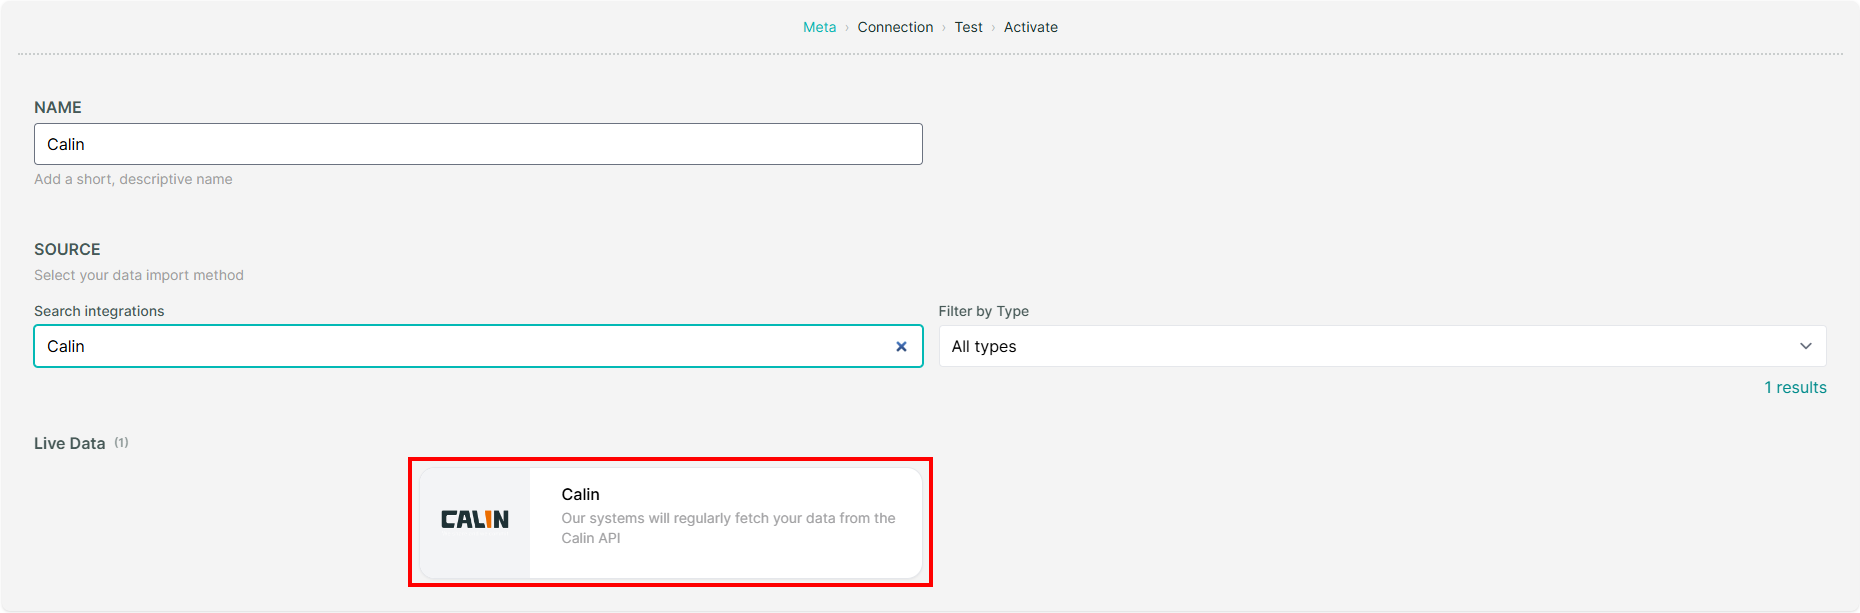
Provide your Calin
*Company Name*,*User ID*,*login URL*,*Daily Report URL*, and*Password*and clickNEXT.
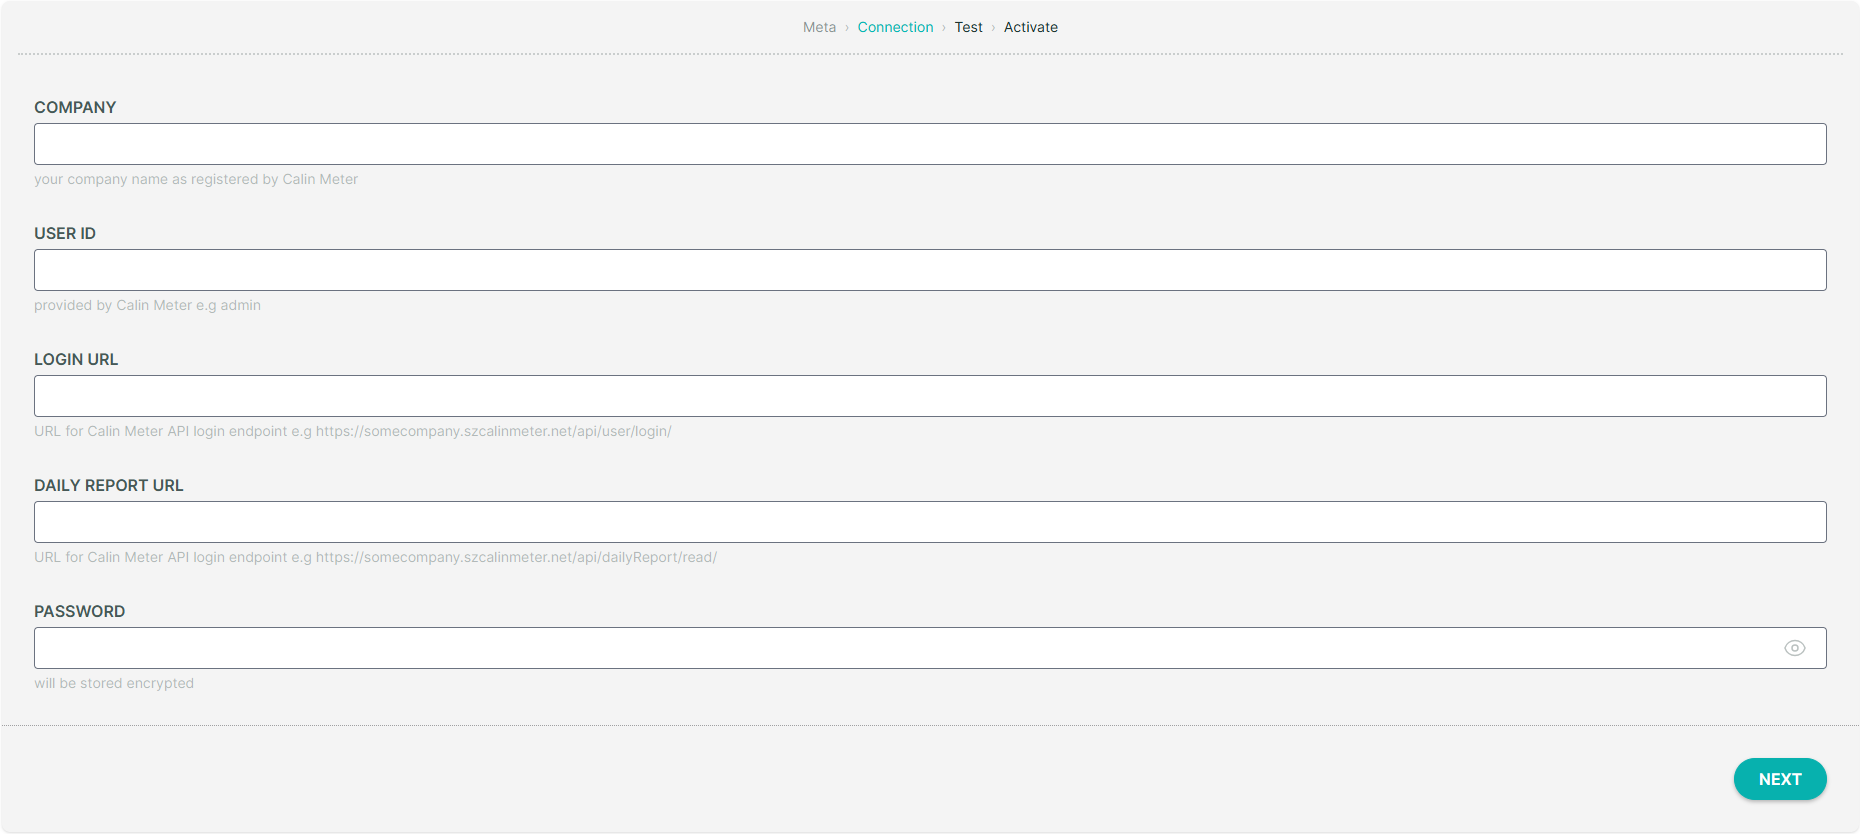
Hint
To obtain your Calin credentials, please contact your Calin representative or Calin support.
The platform will validate your connection to ensure the connection is successful. From here, you can click
NEXTto proceed.
Activate the data source by checking the
ACTIVATE NOWcheckbox and clickFINISH.
The platform will now start collecting data from your Calin devices and you can view the data on the platform.