
Data Management#
Creating Data Checks#
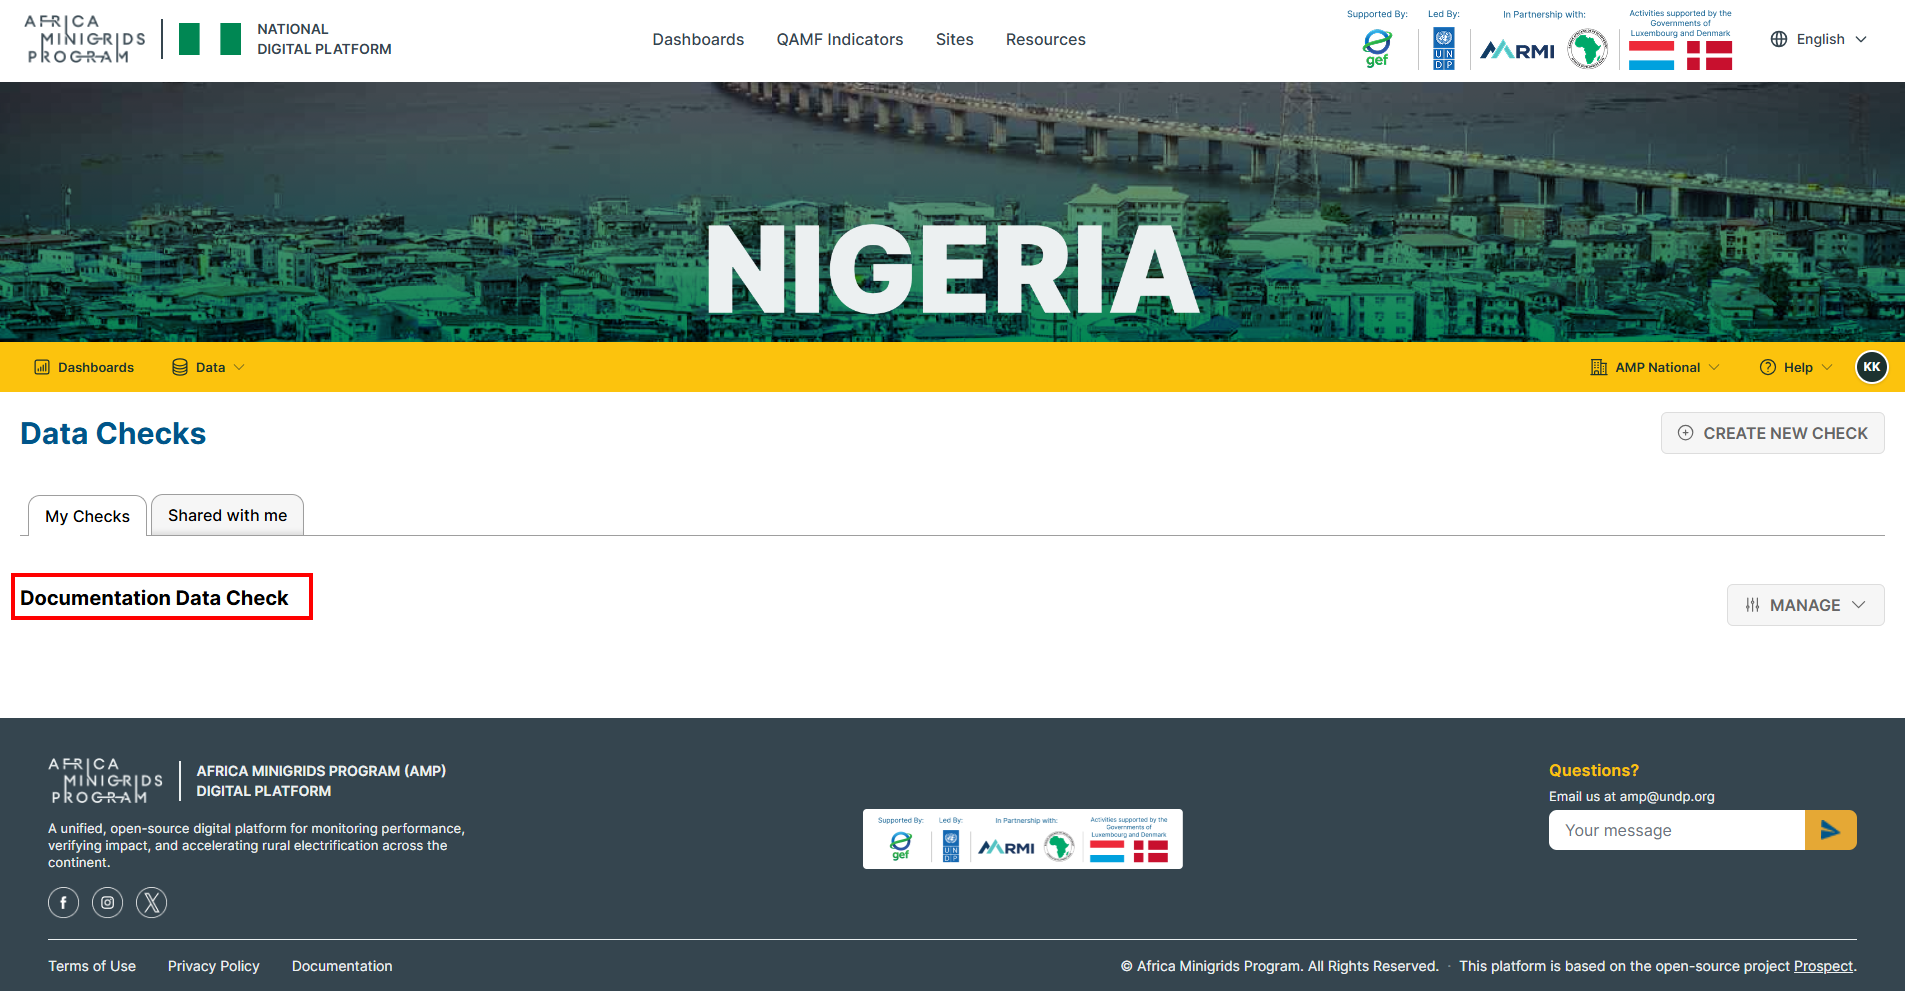
On the homepage, click
Dataand selectData Checks.
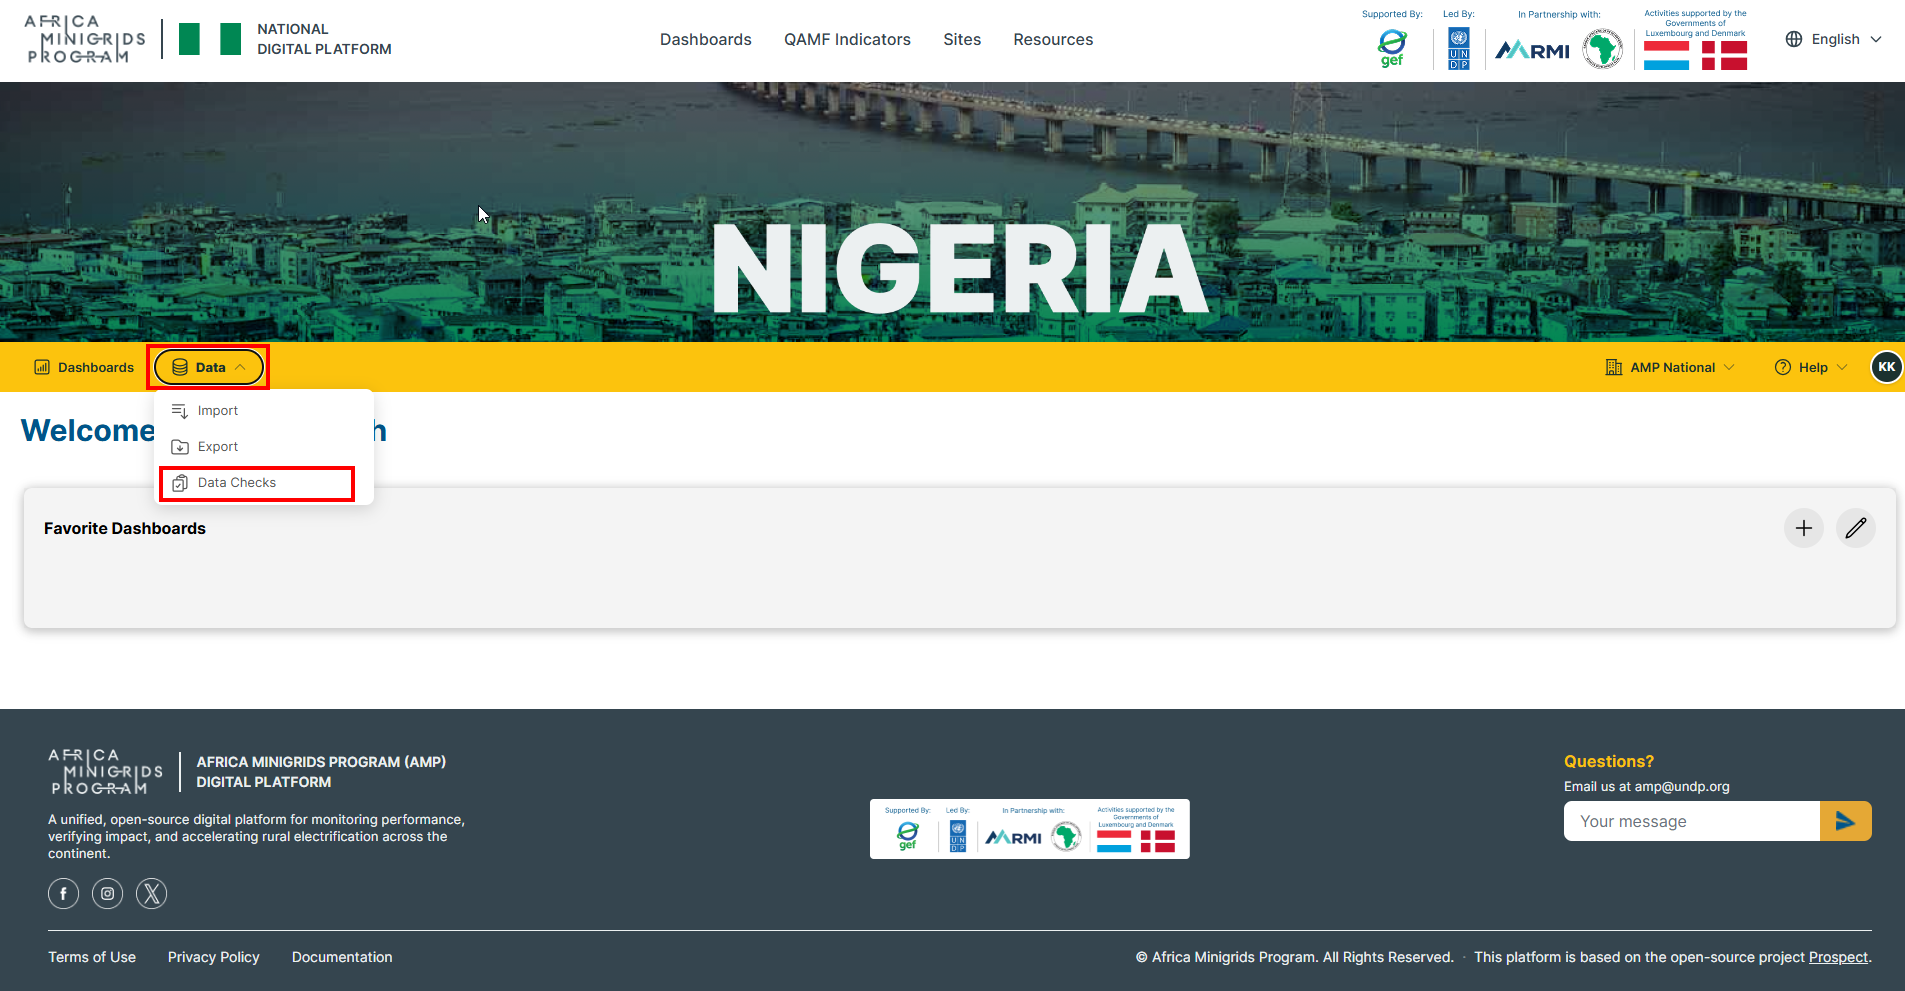
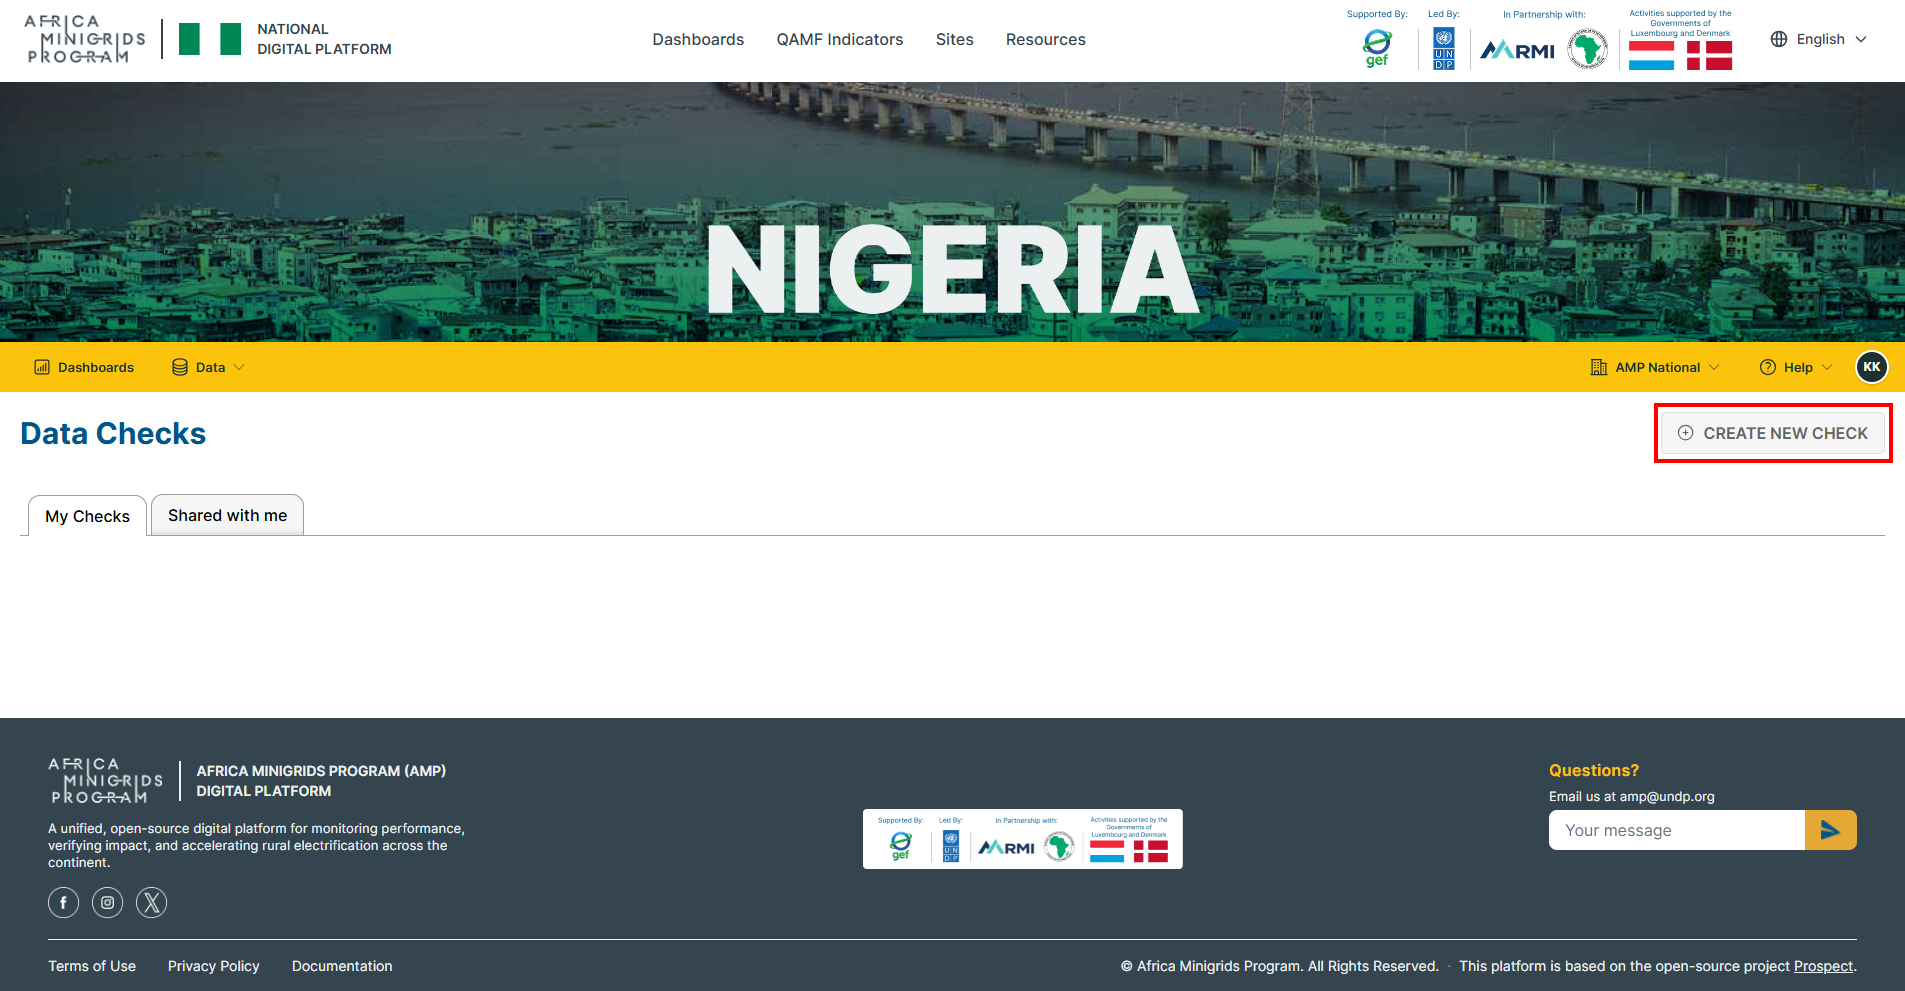
Click
CREATE NEW CHECK.
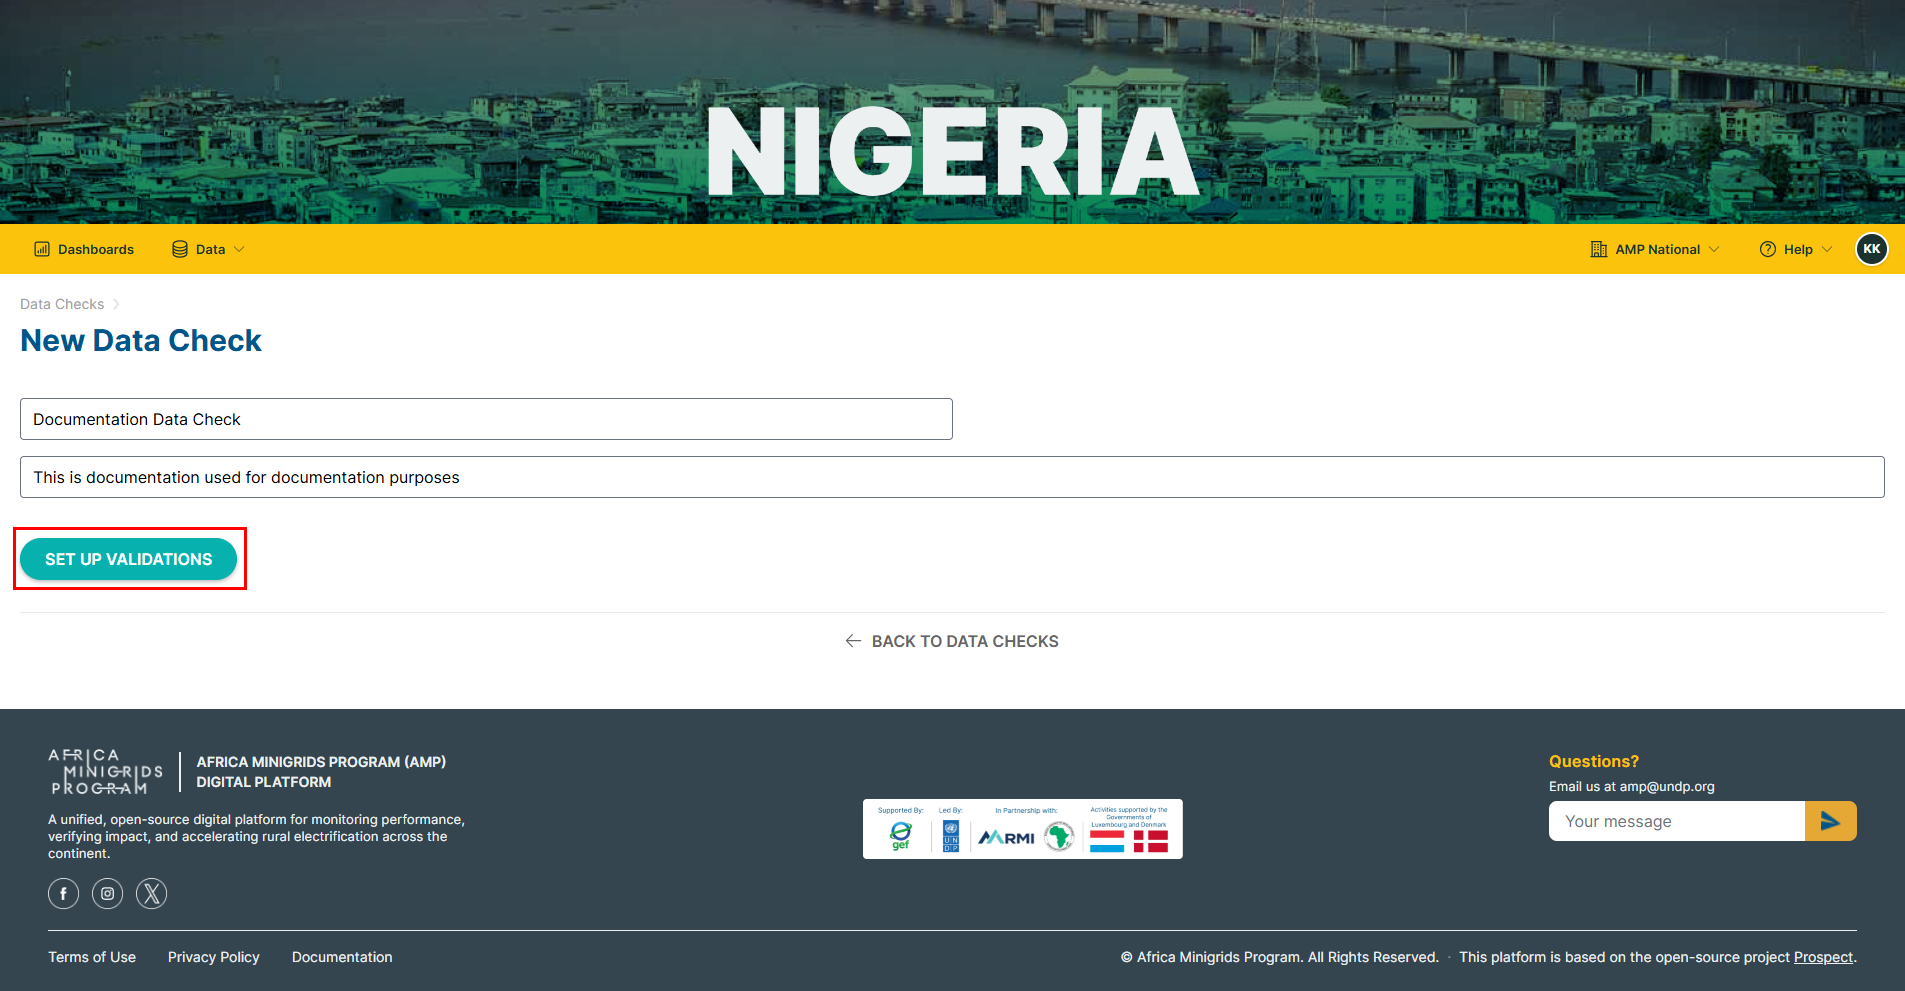
Fill in the New Data Check form provided and click
SET UP VALIDATIONS.
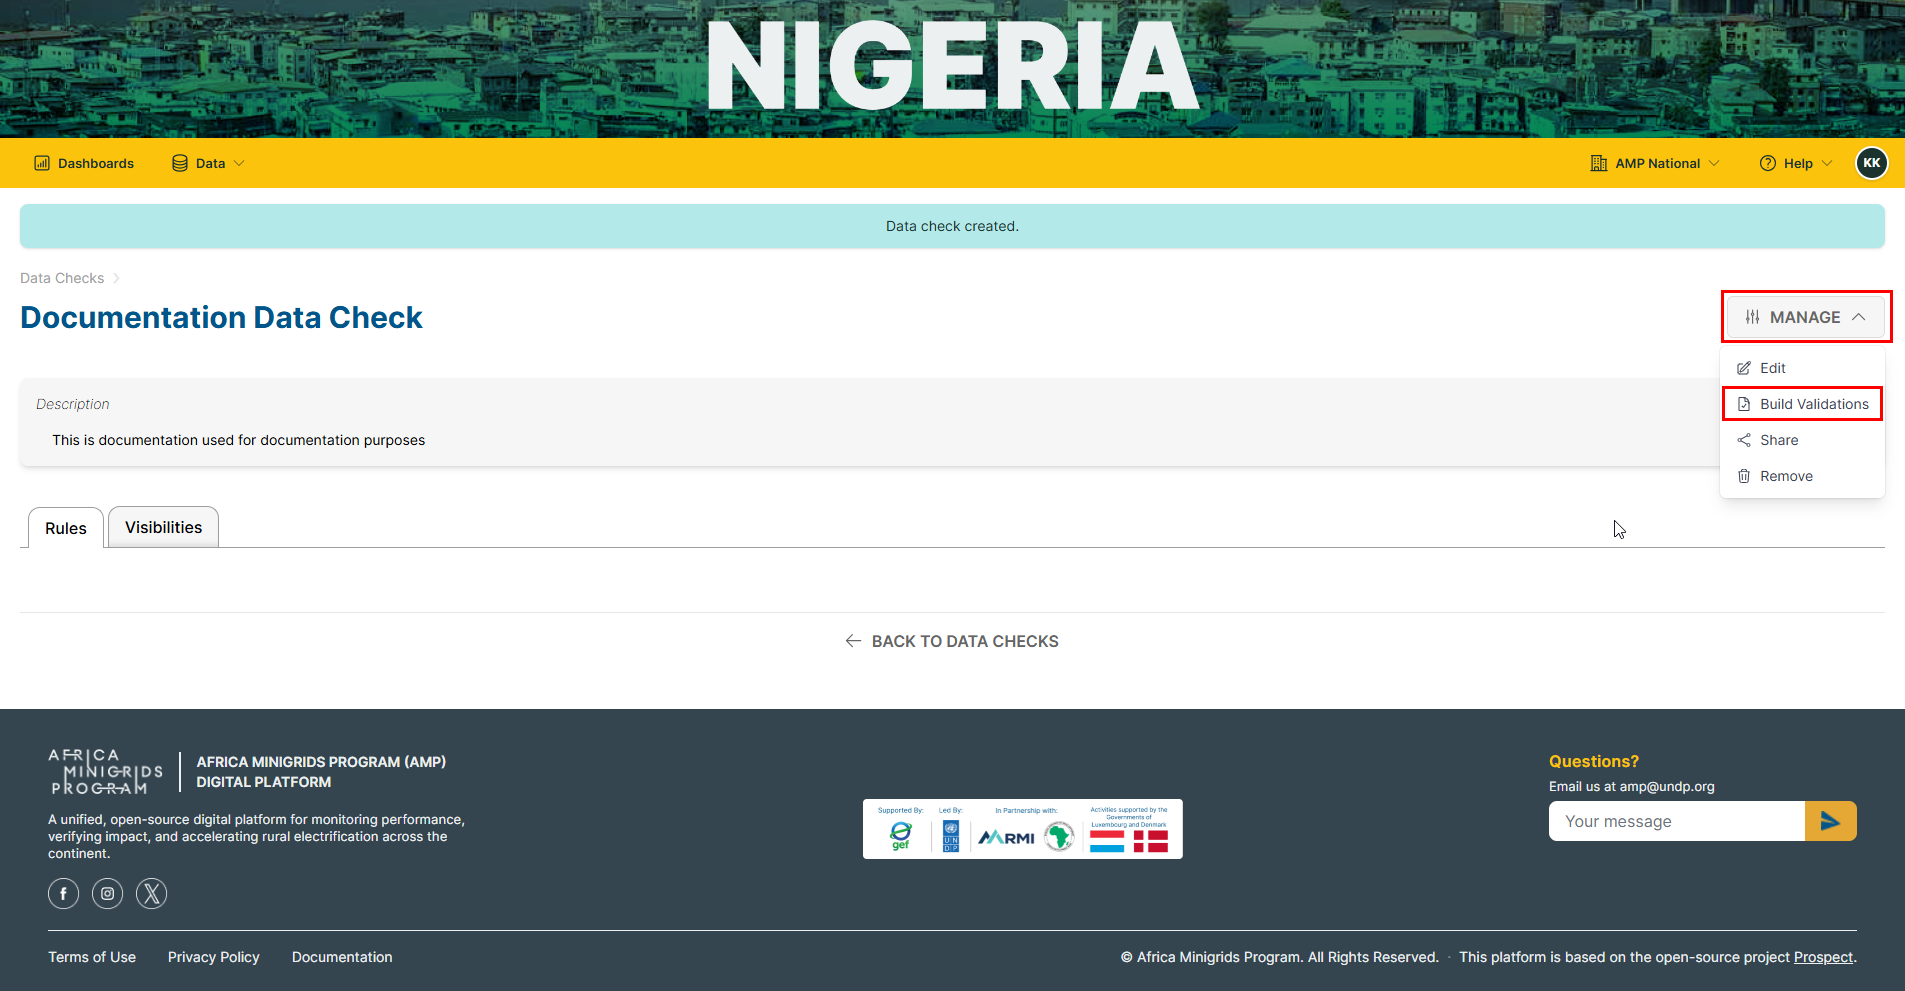
Click
MANAGEand selectBuild Validations
Editing a Data Check#
On the homepage, click
Dataand selectData Checks.
Select the data check that you want to edit.
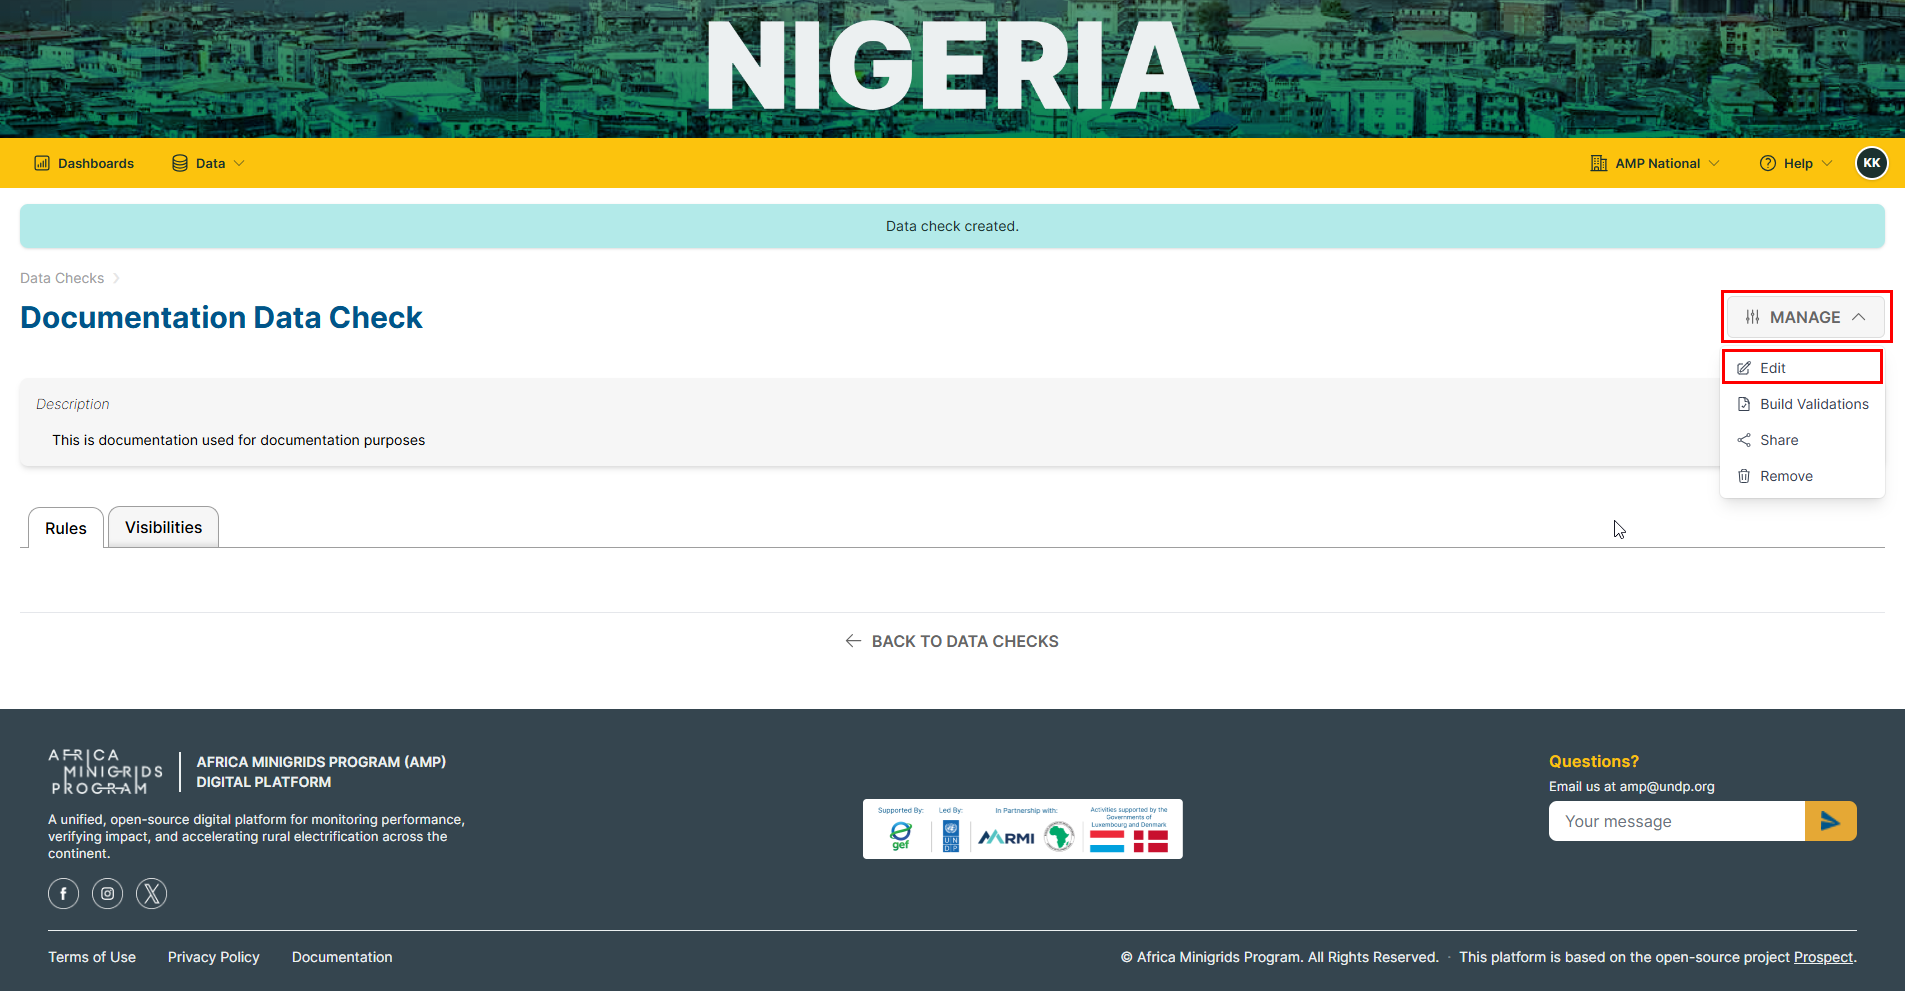
Click
MANAGEand selectEdit.
Fill in the form provided with the relevant updates and click
UPDATE.

Sharing a Data Check#
On the homepage, click
Dataand selectData Checks.
Select the data check that you want to share.
Click
MANAGEand selectShare.

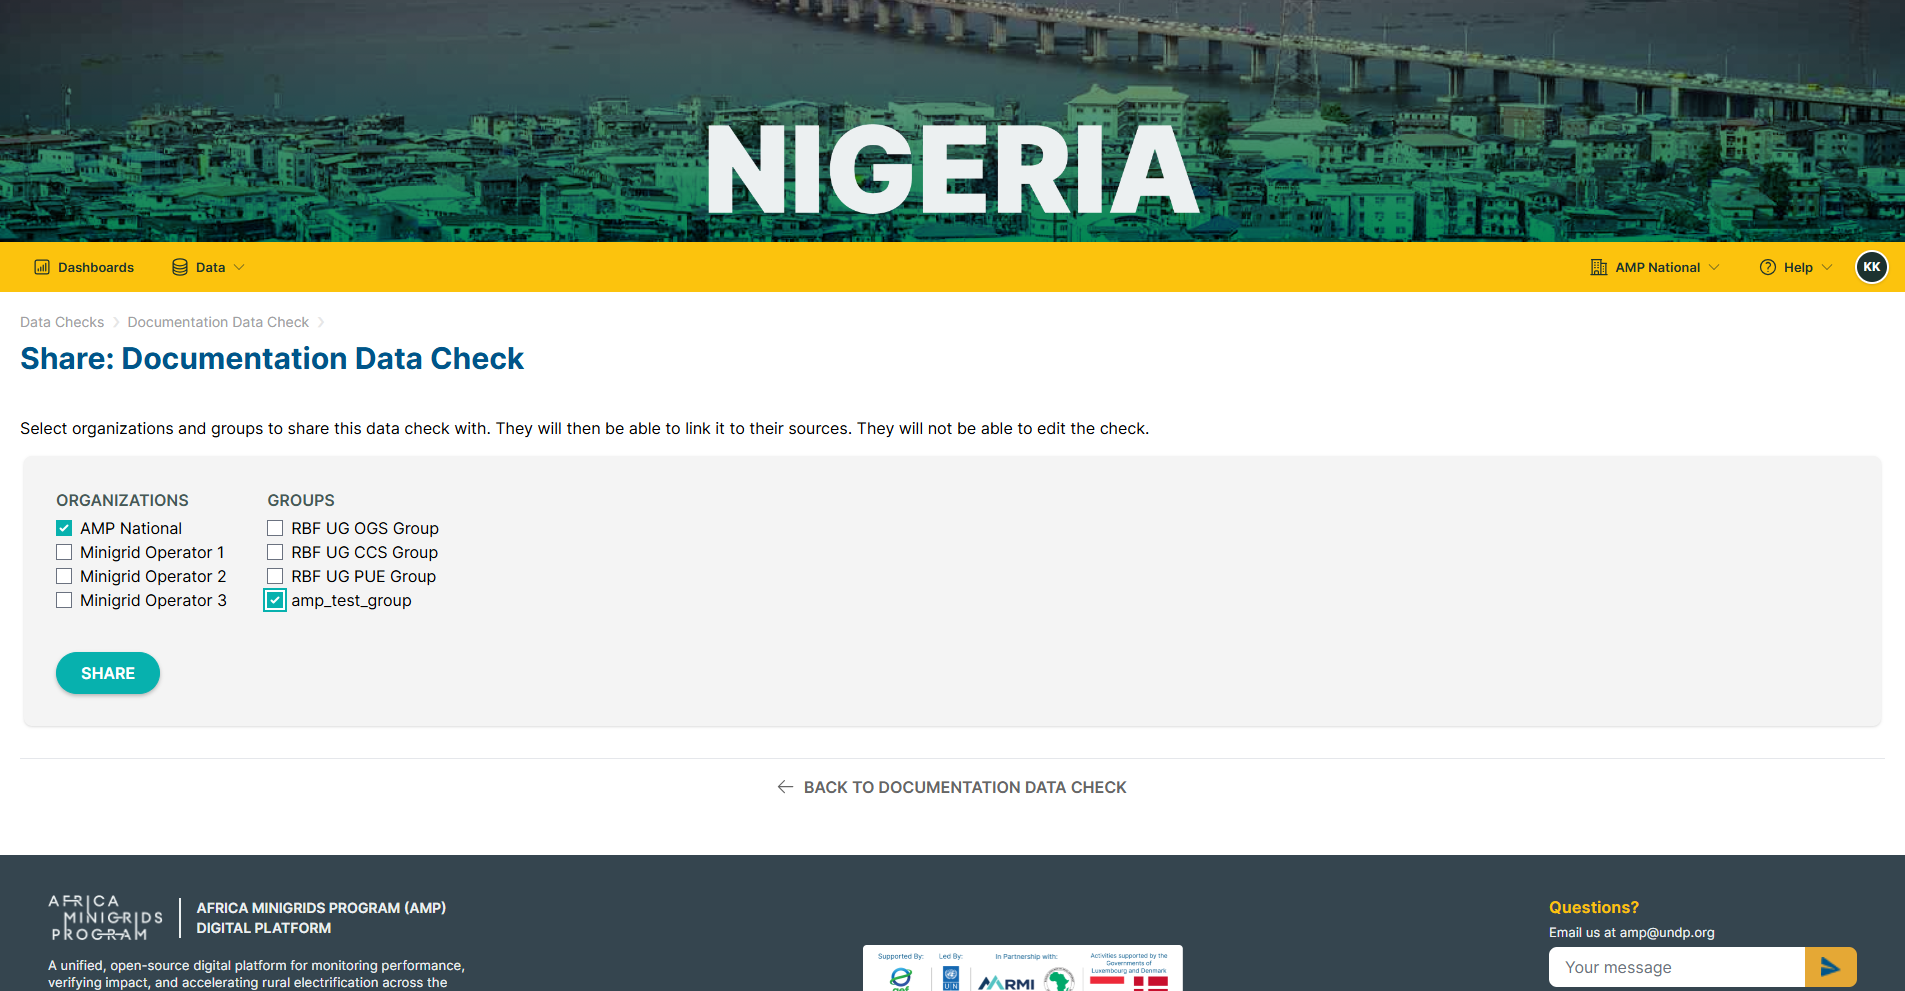
Select the organization and/or the group you want to share the data check with and click
SHARE.
Importing Data Source#
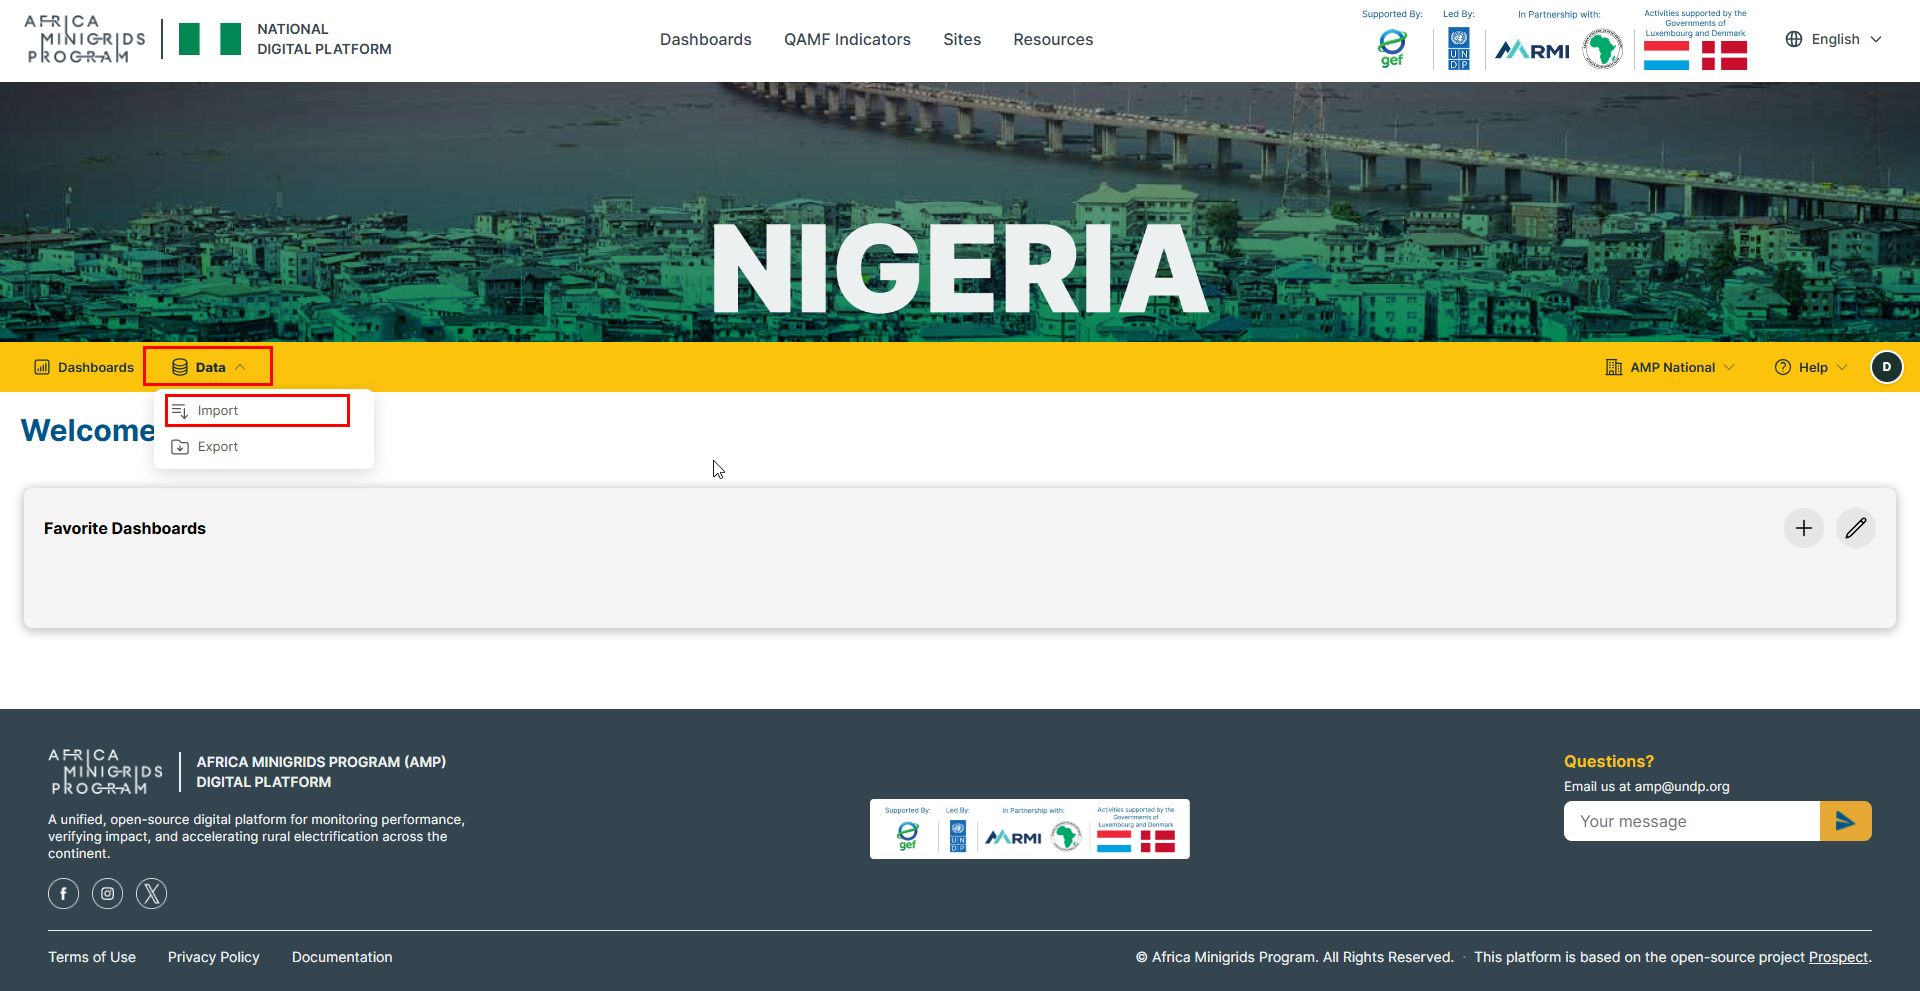
On the homepage, click
Dataand selectImport.
Click
ADD DATASOURCE
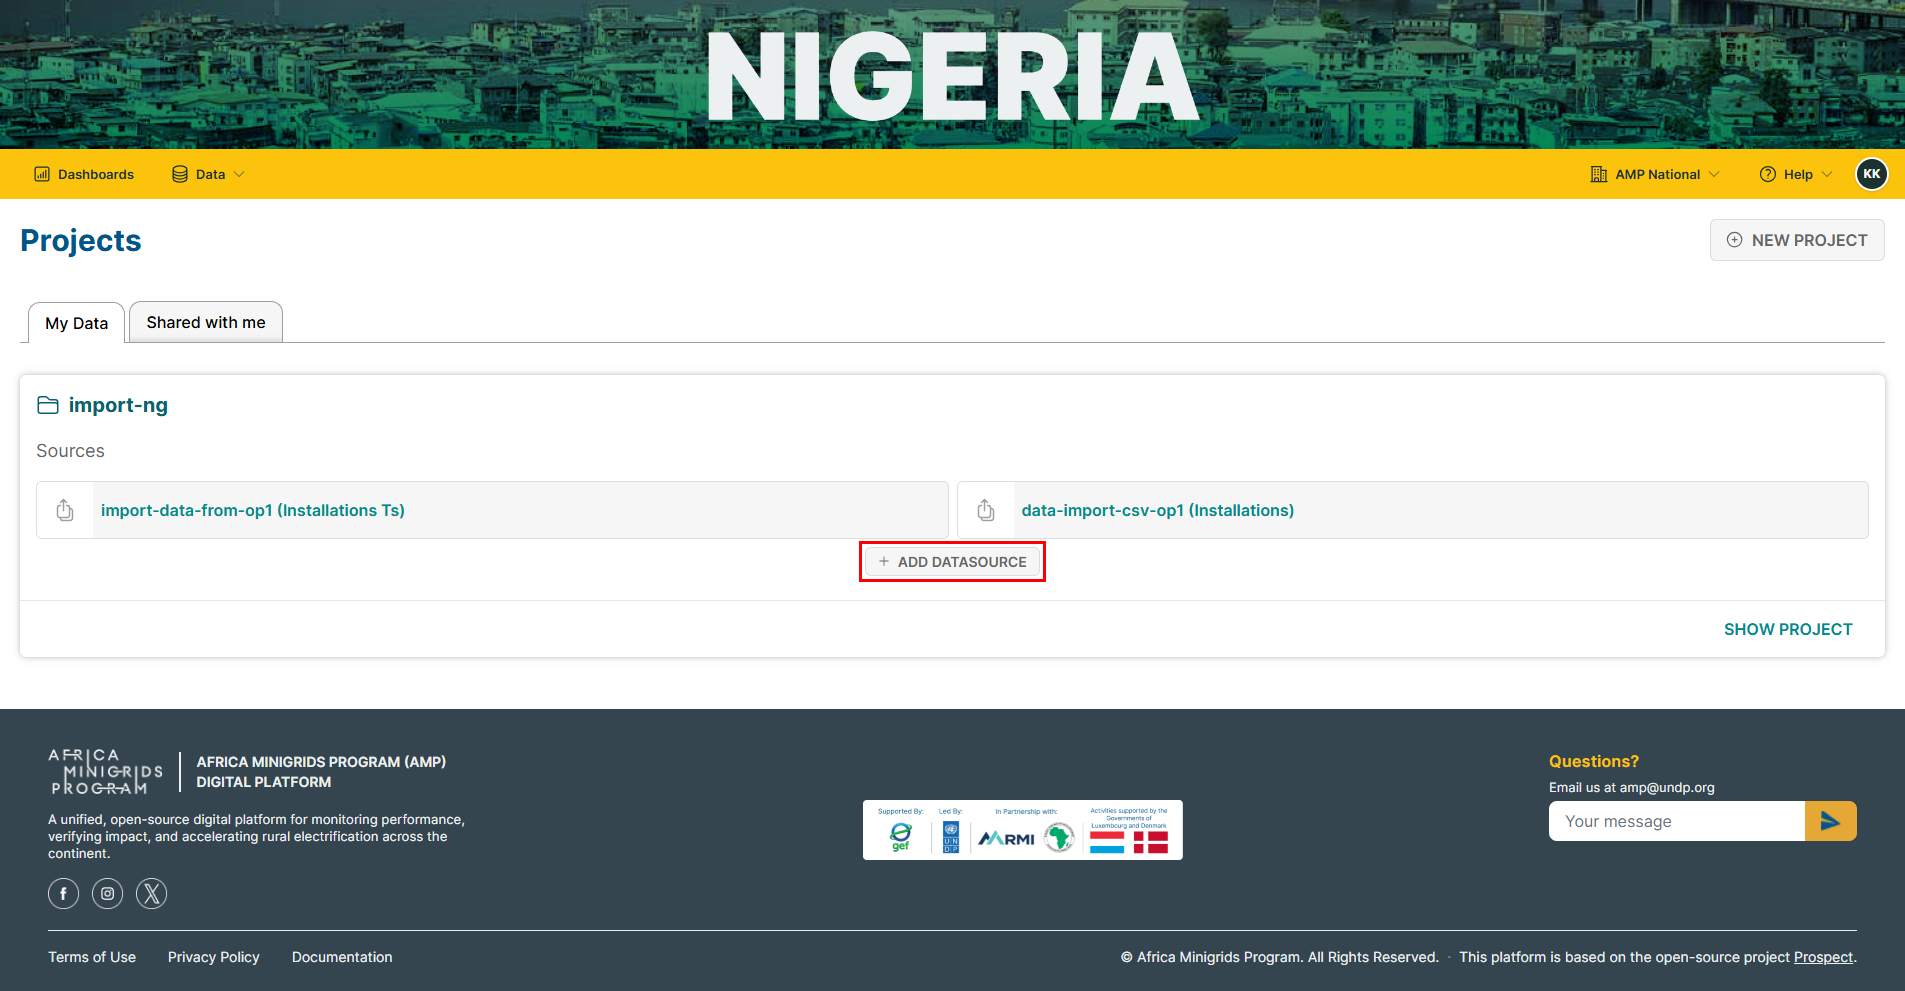
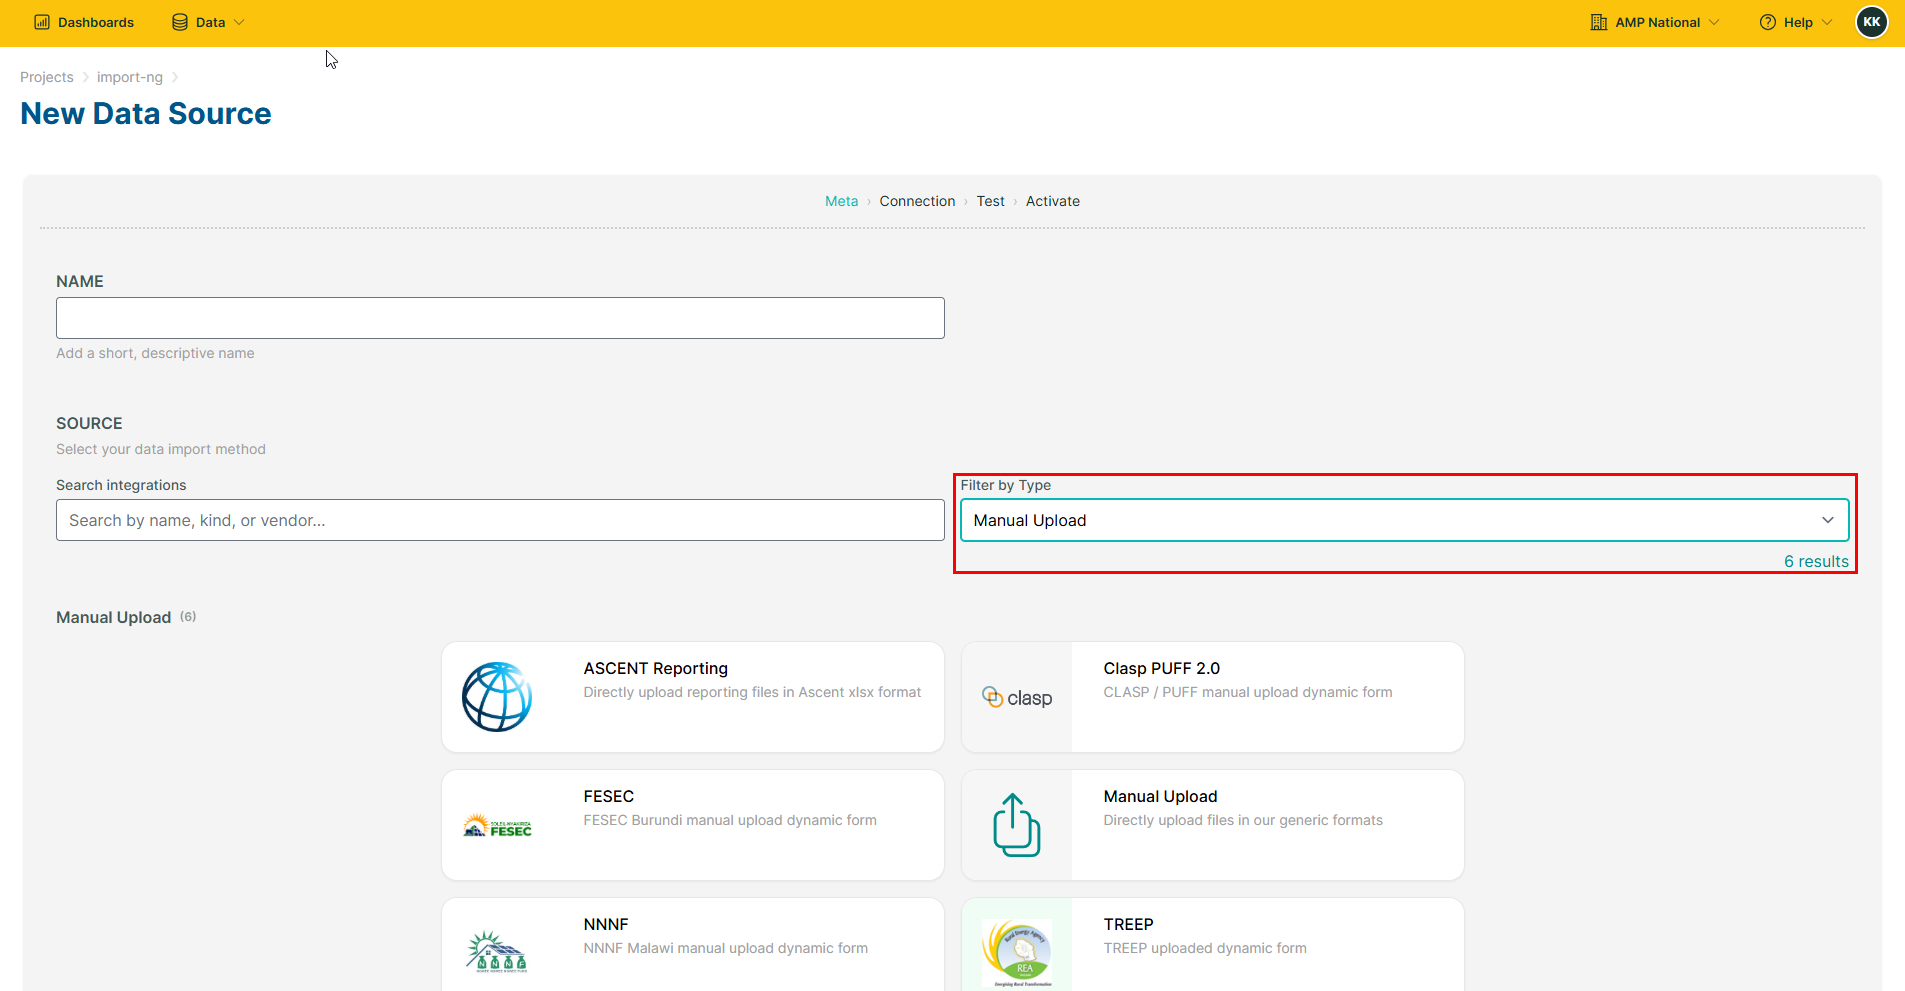
Select the intergration method/type and click
Next.
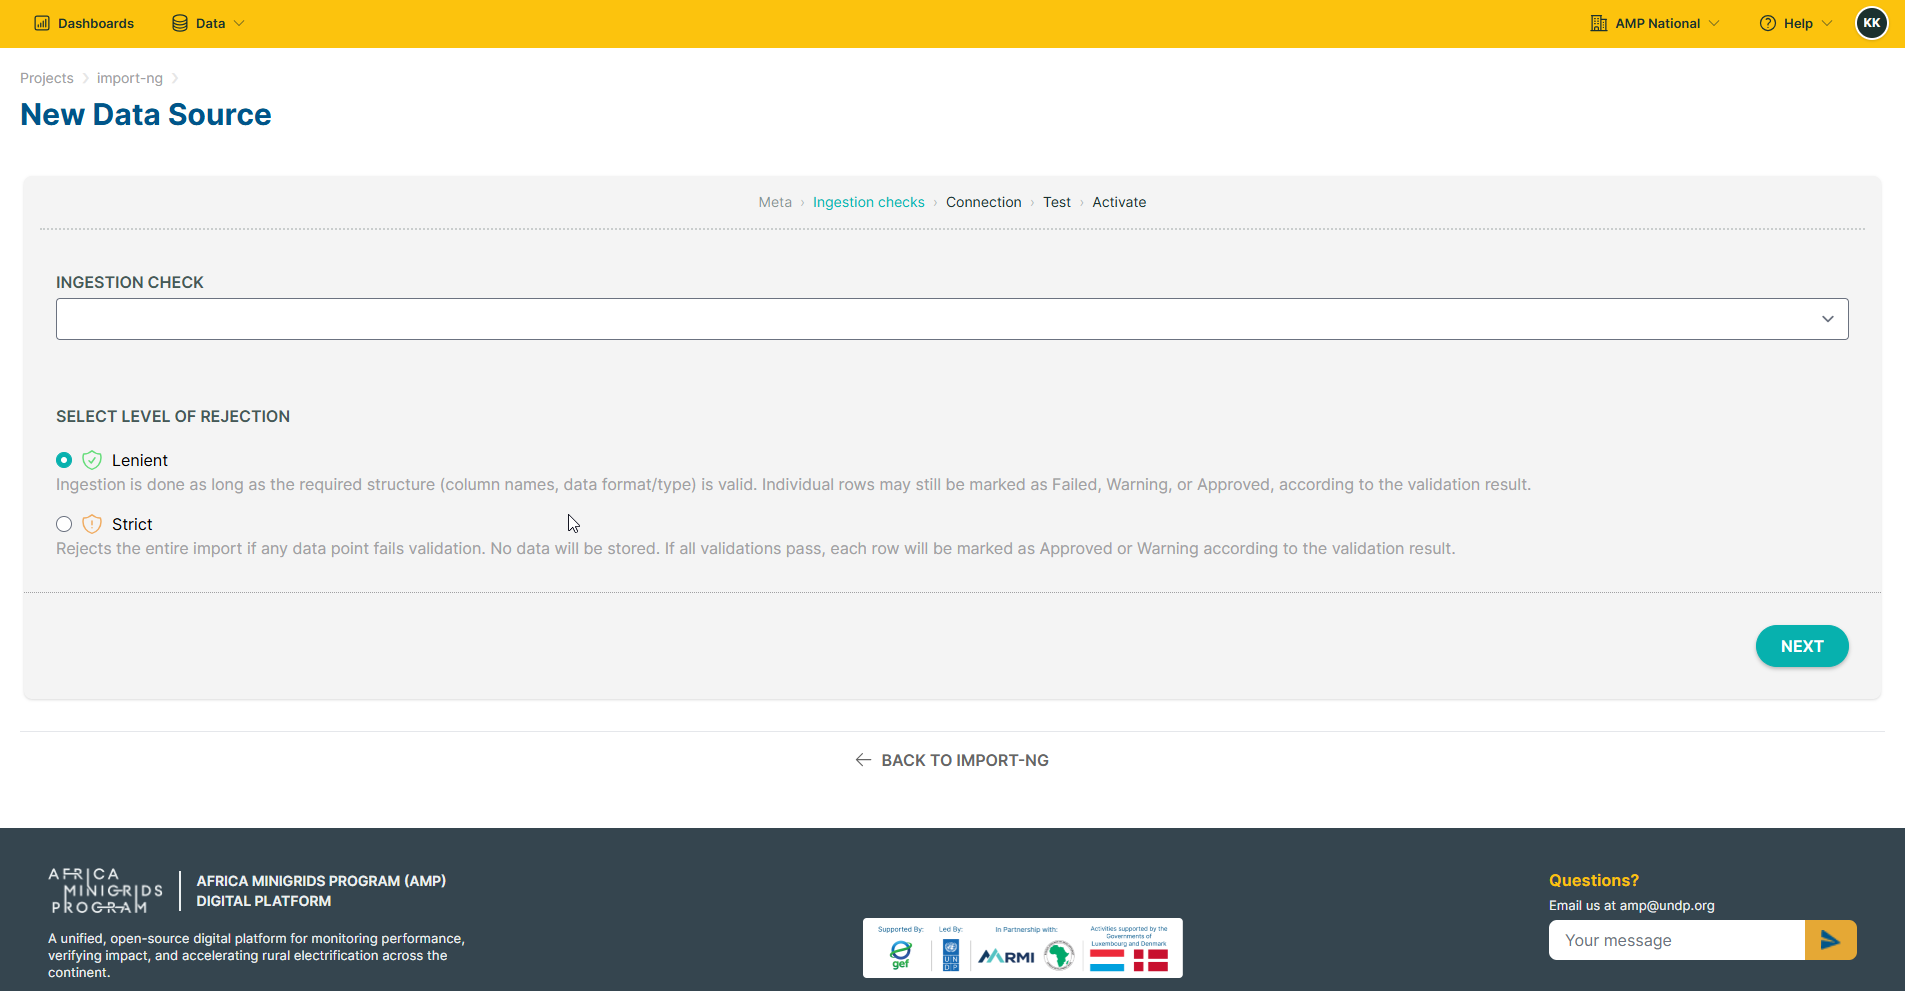
Select the level of rejection and click
Next.
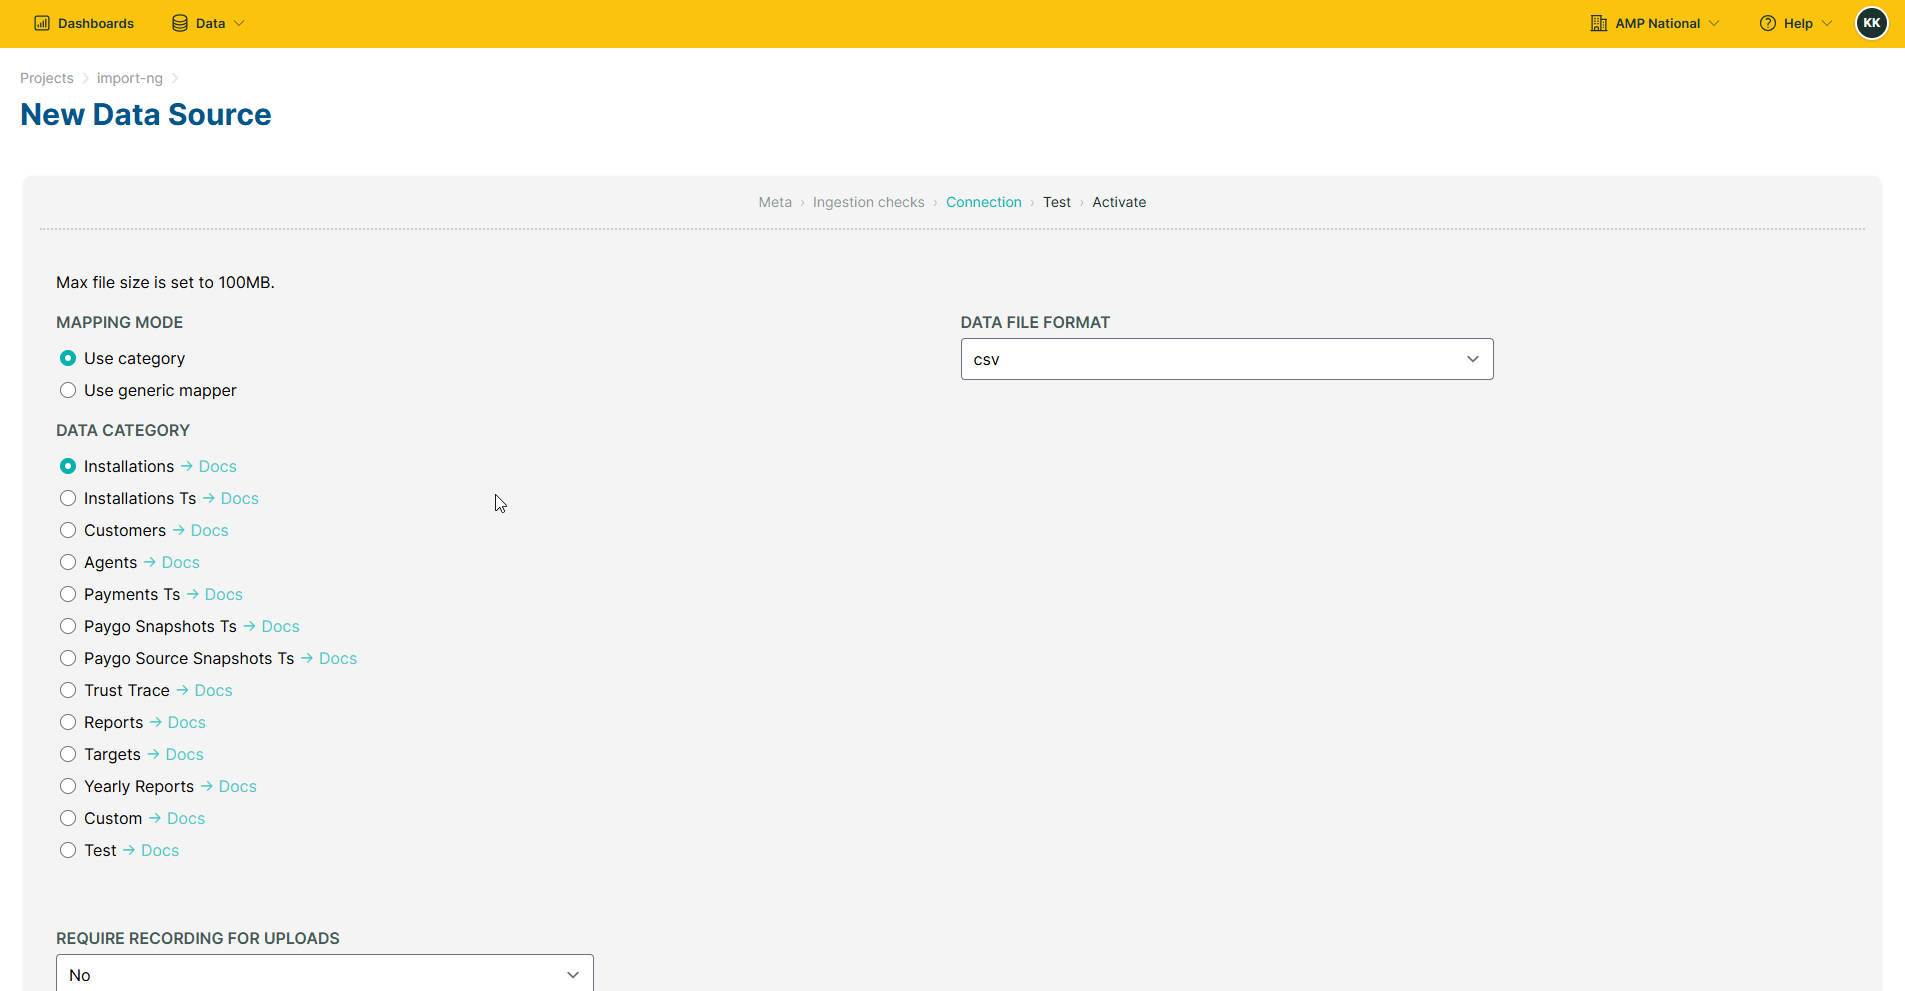
Select the mapping mode, category anf file format and click
Next.
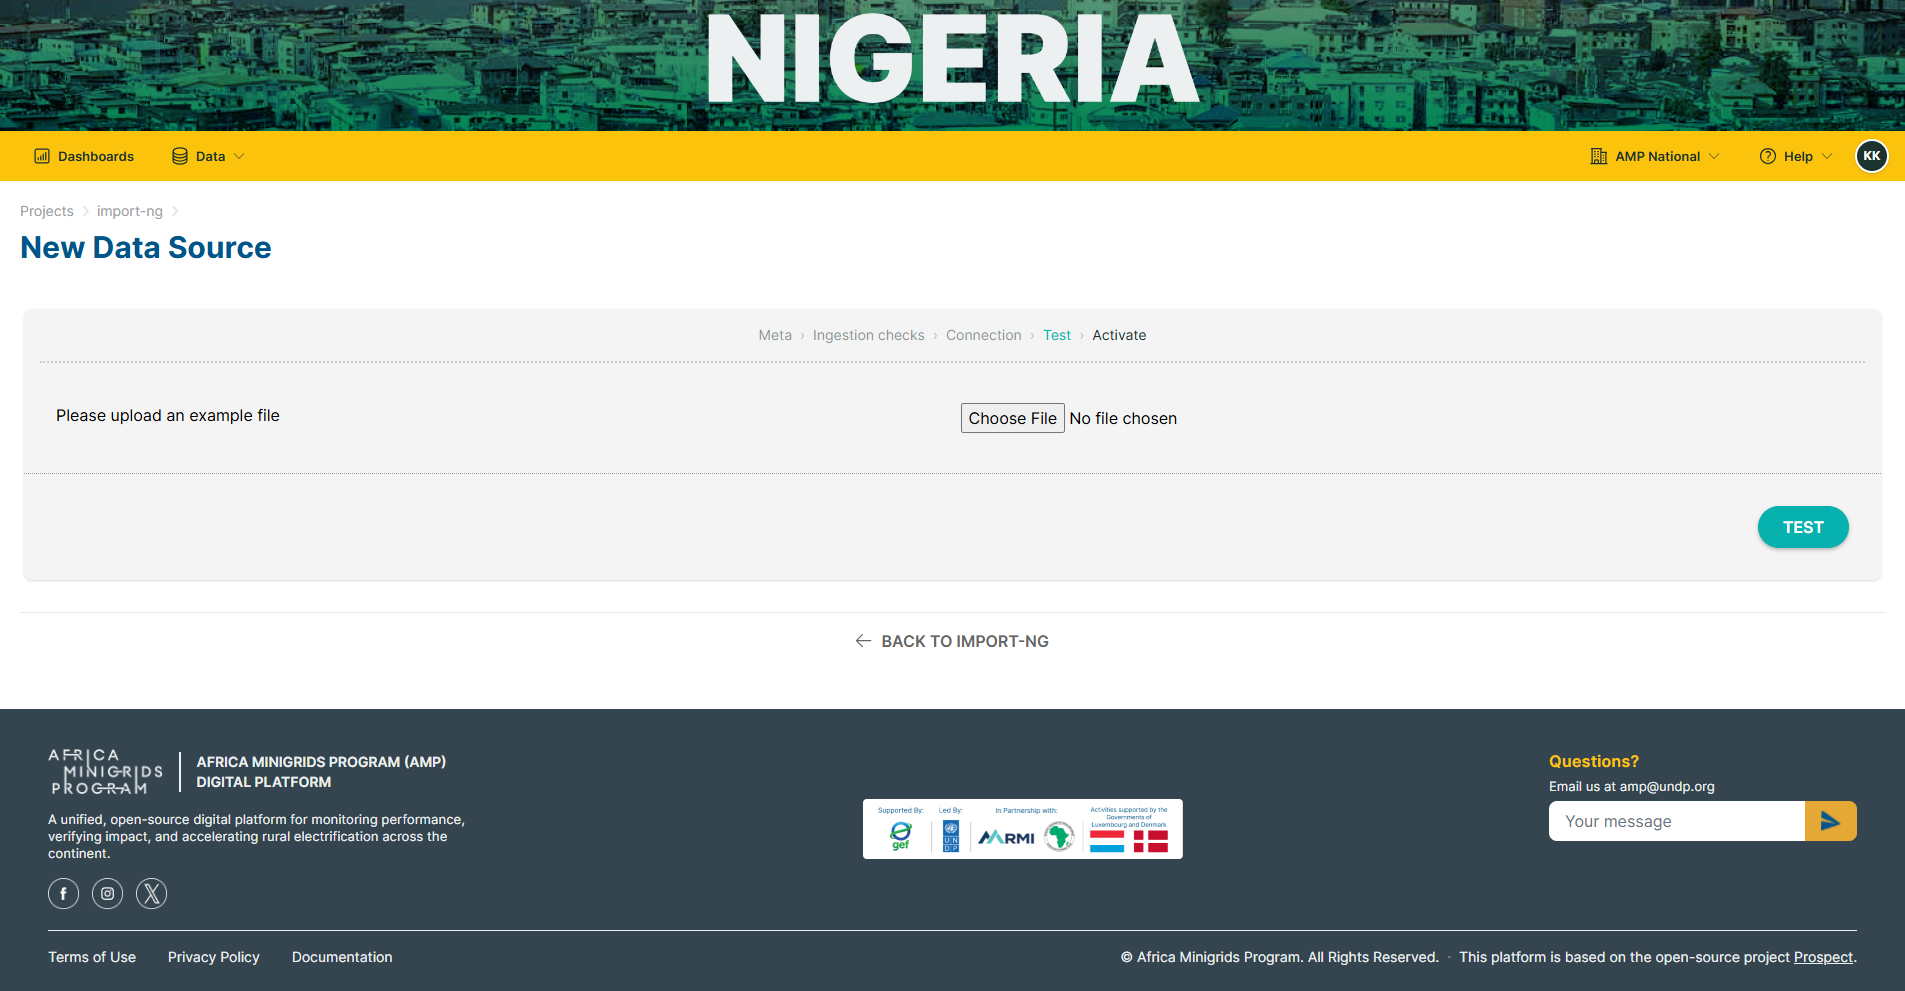
Select the file to upload and click
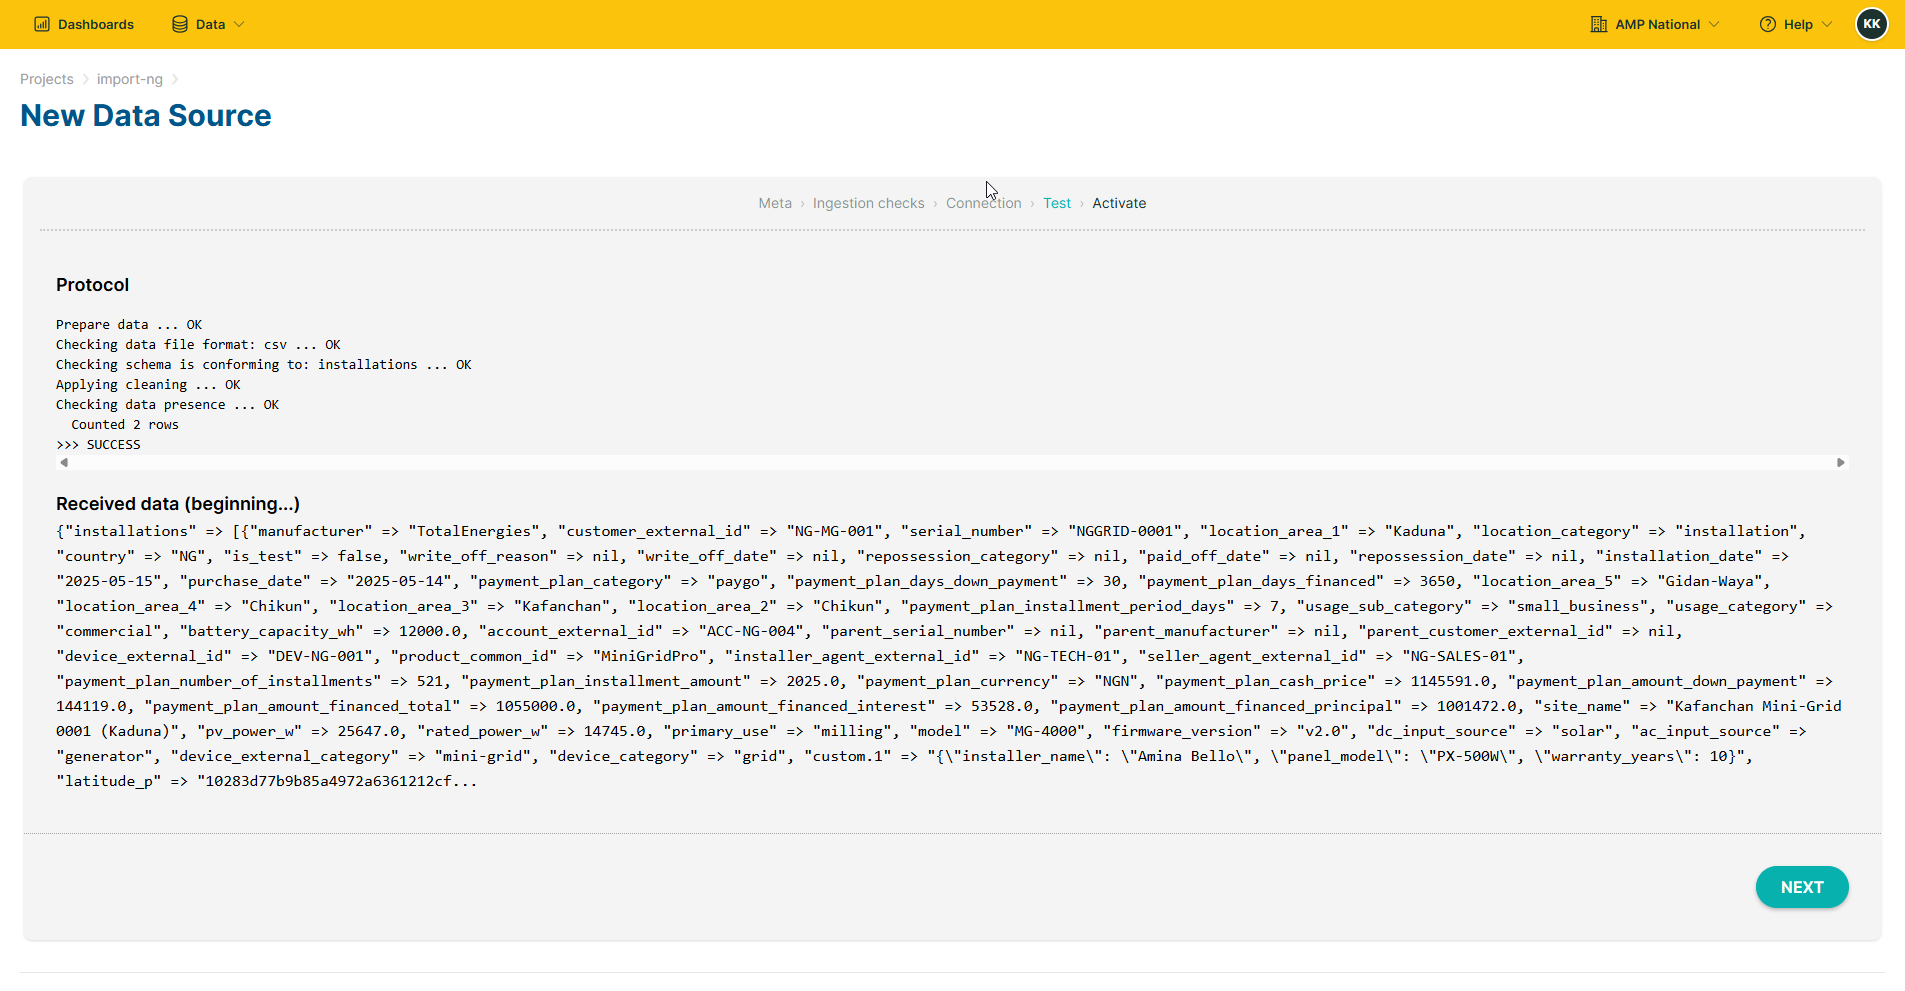
Test.
The system will verify your upload. If the verification is successful, click
Next.
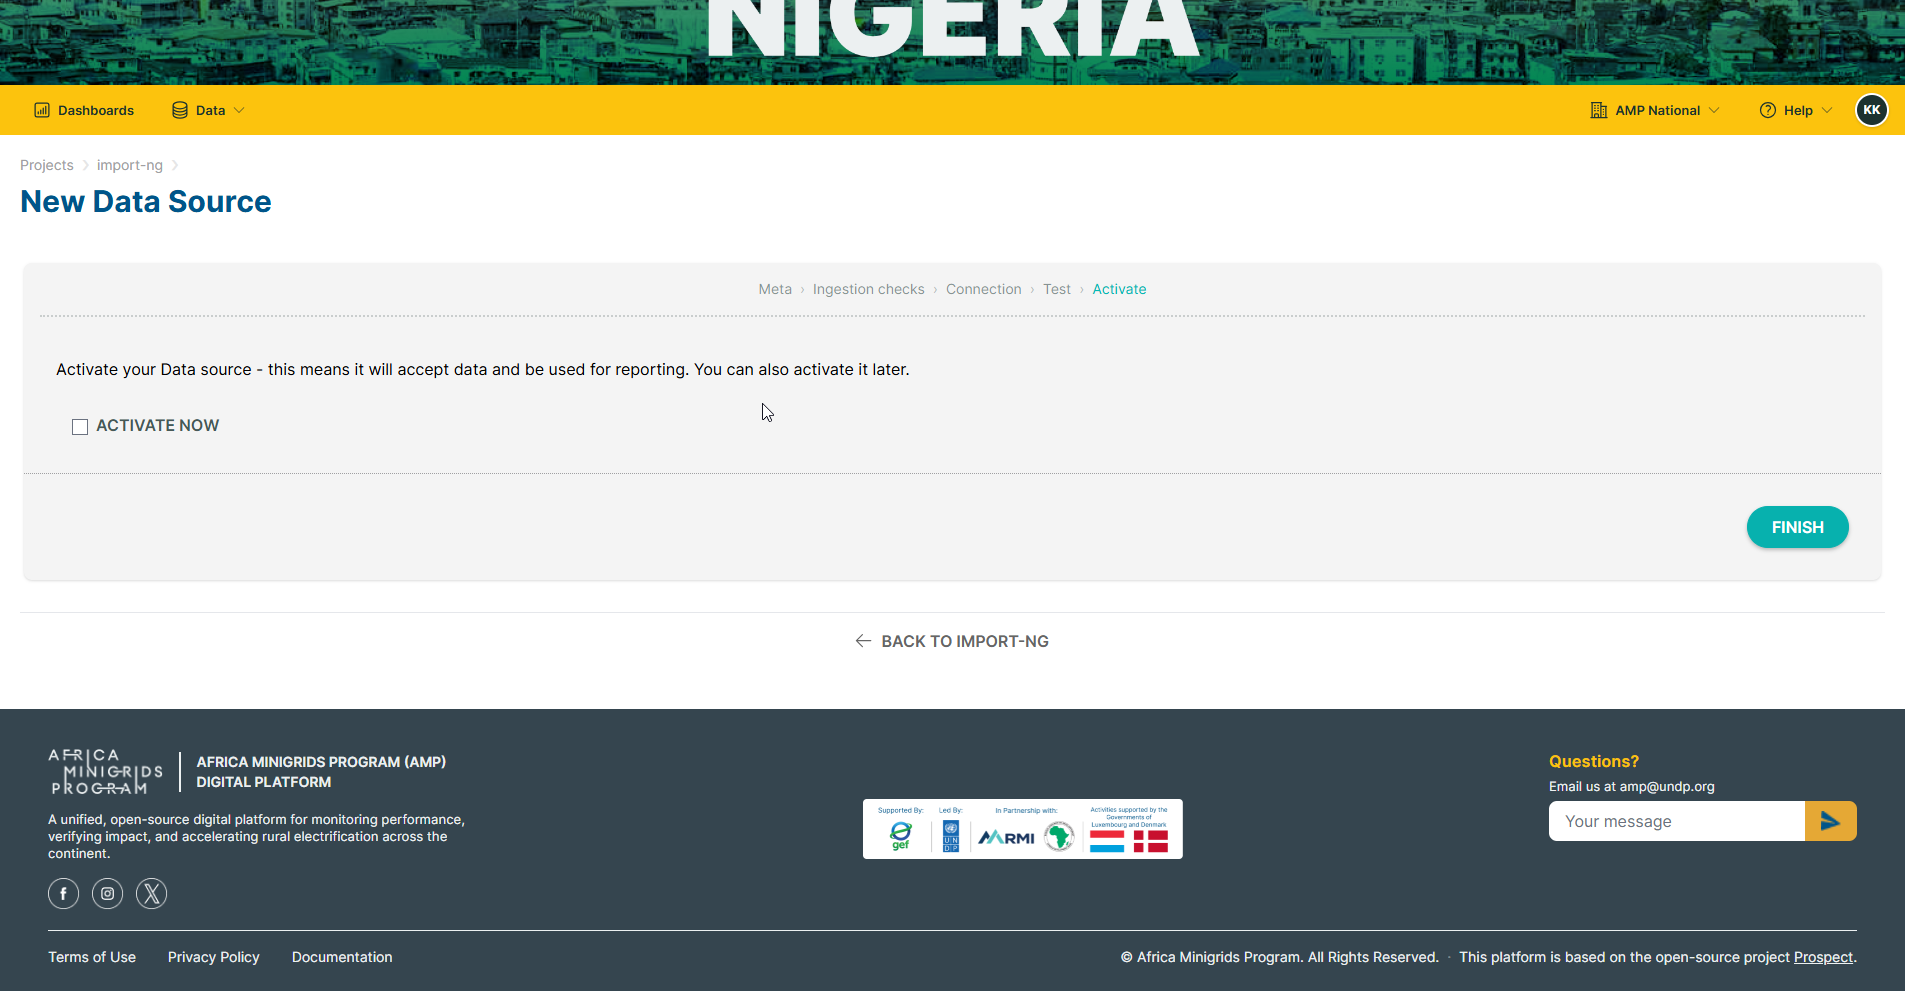
Activate your data source to make it accept data and be used for reporting and click
Finish.
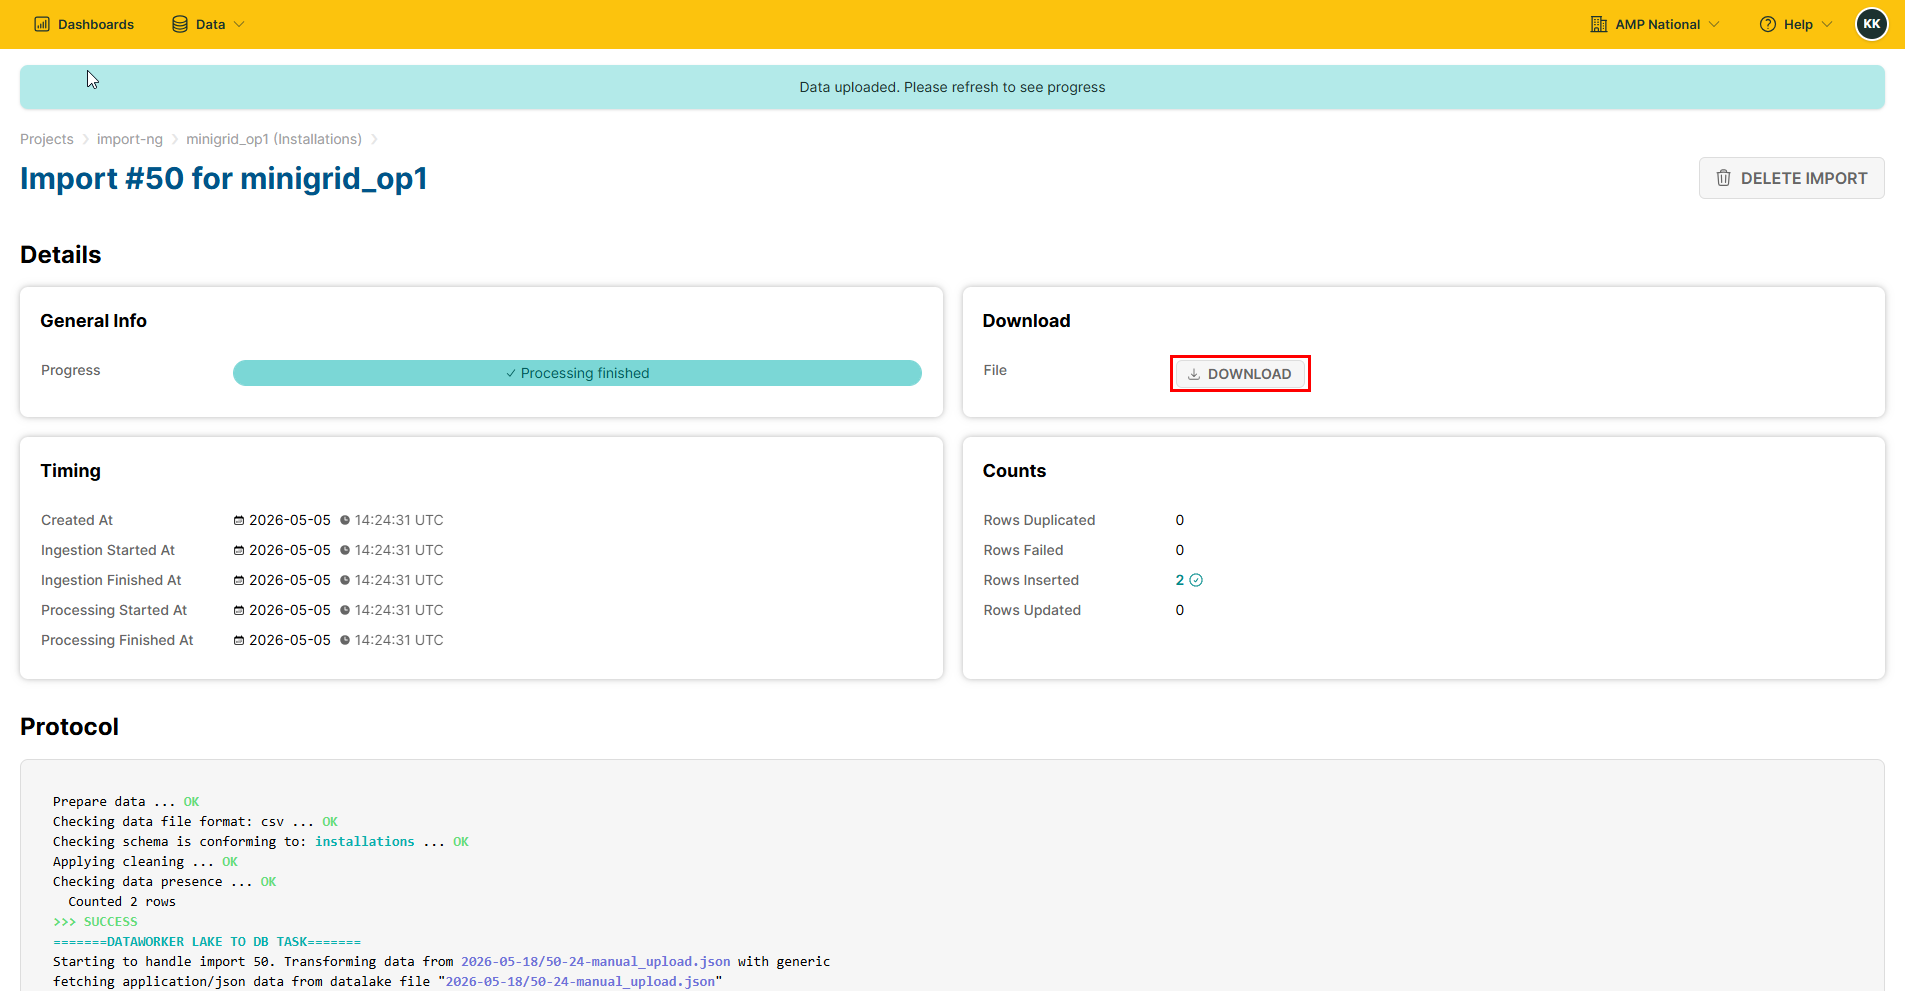
Inserting Data#
On the homepage, click
Dataand selectImport.
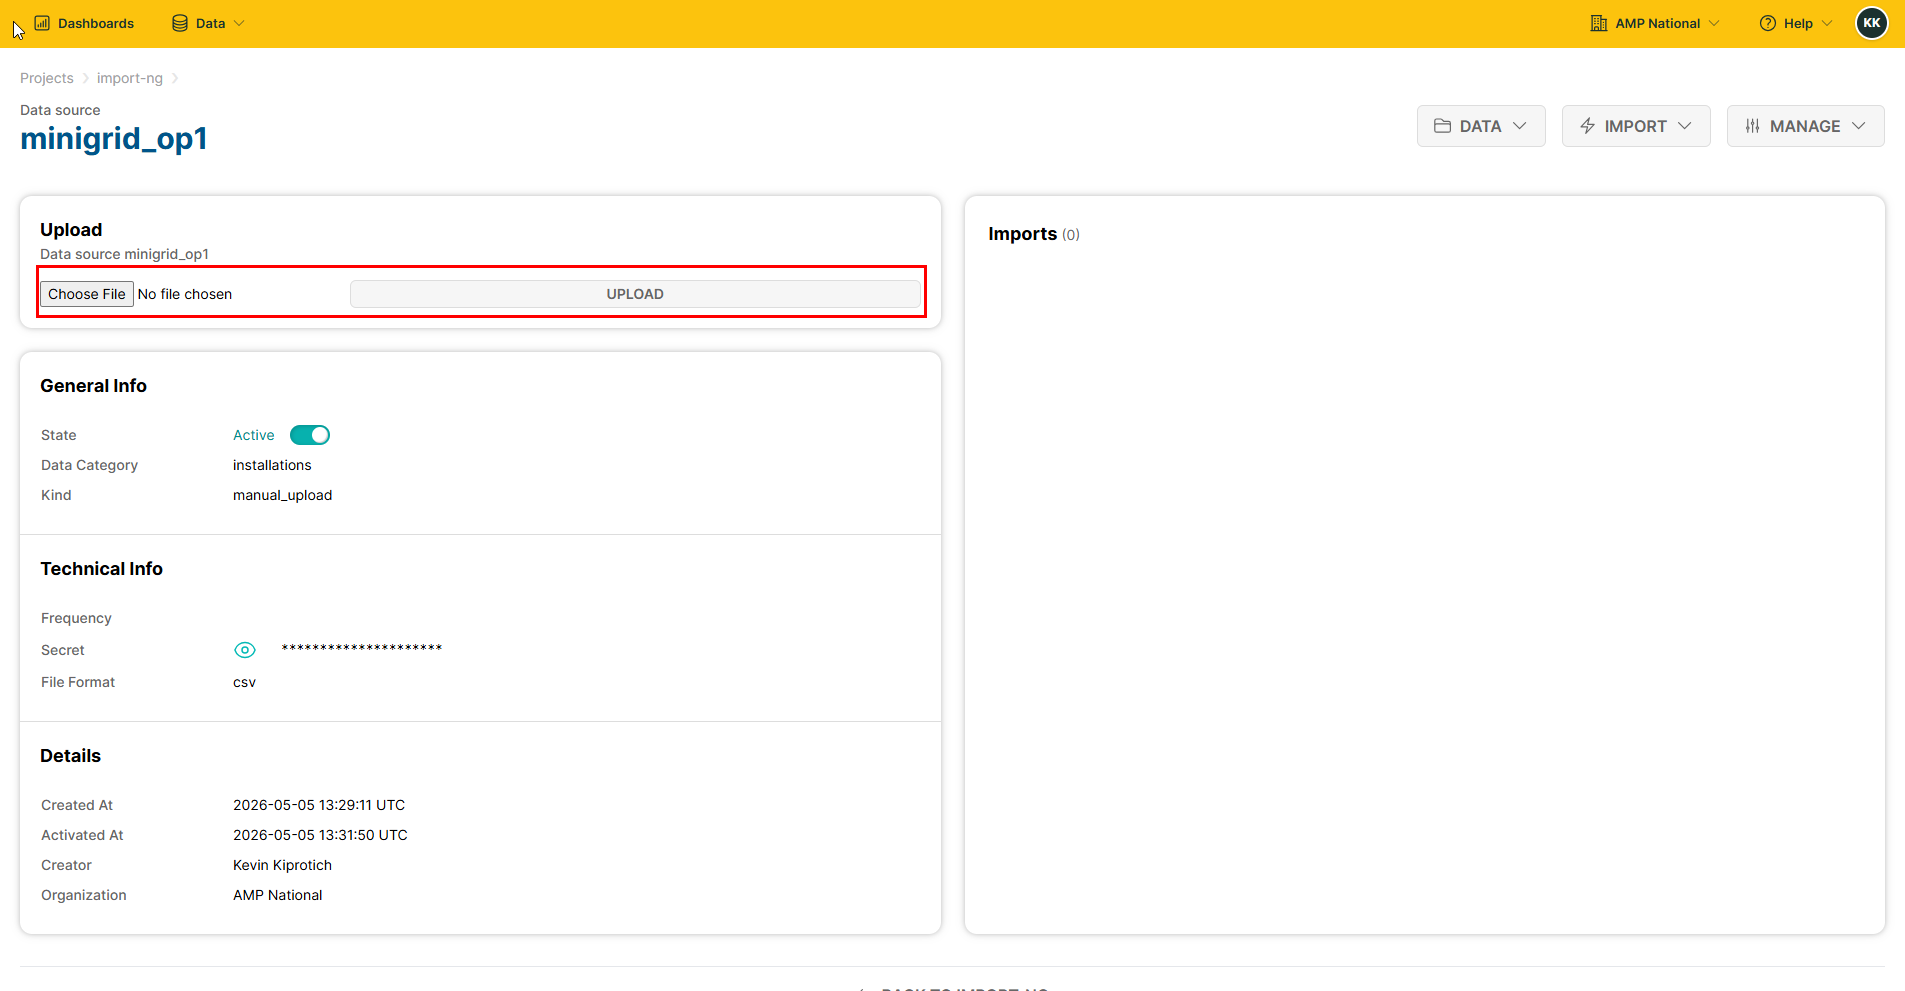
Select the data source to which you want insert data.

Select the file that contains the data you want you insert and click
Upload.
Once the data insertion is complete, you can click
DOWNLOADto download your data
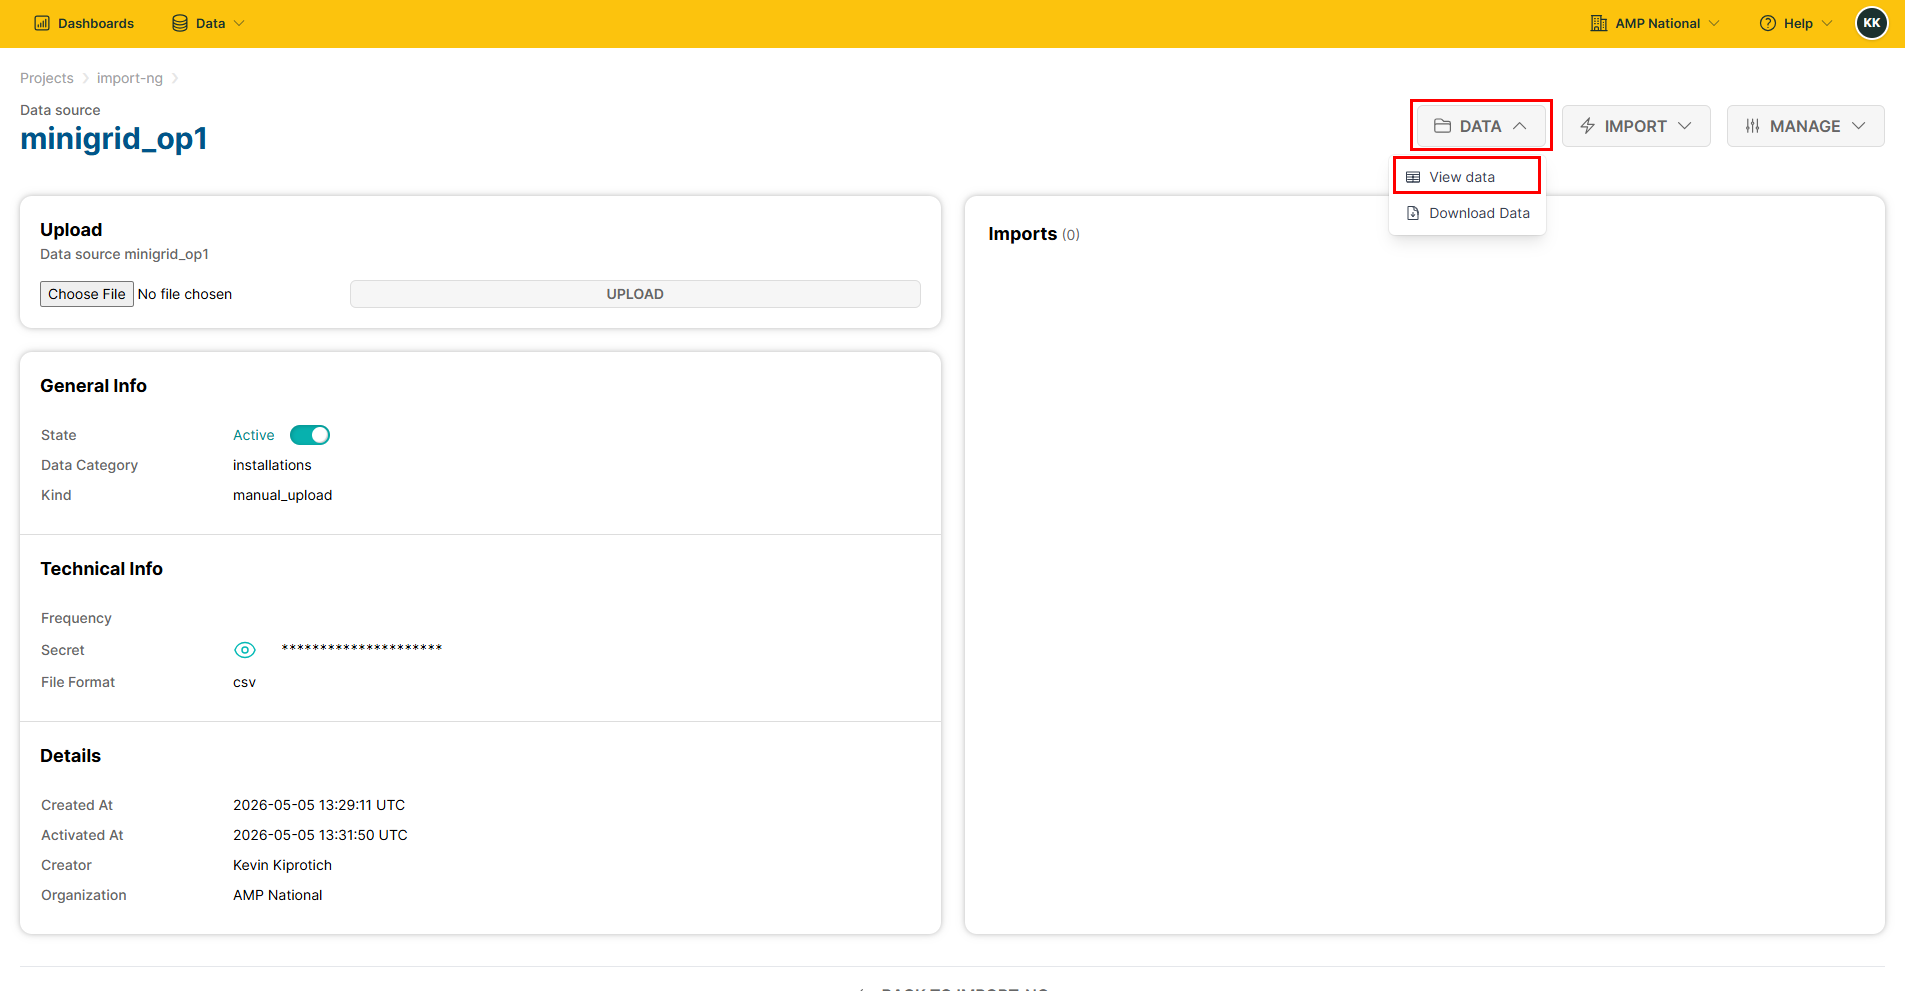
Viewing Data#
On the homepage, click
Dataand selectImport.
Select the data source you want to view.
Click
DATAand selectView data
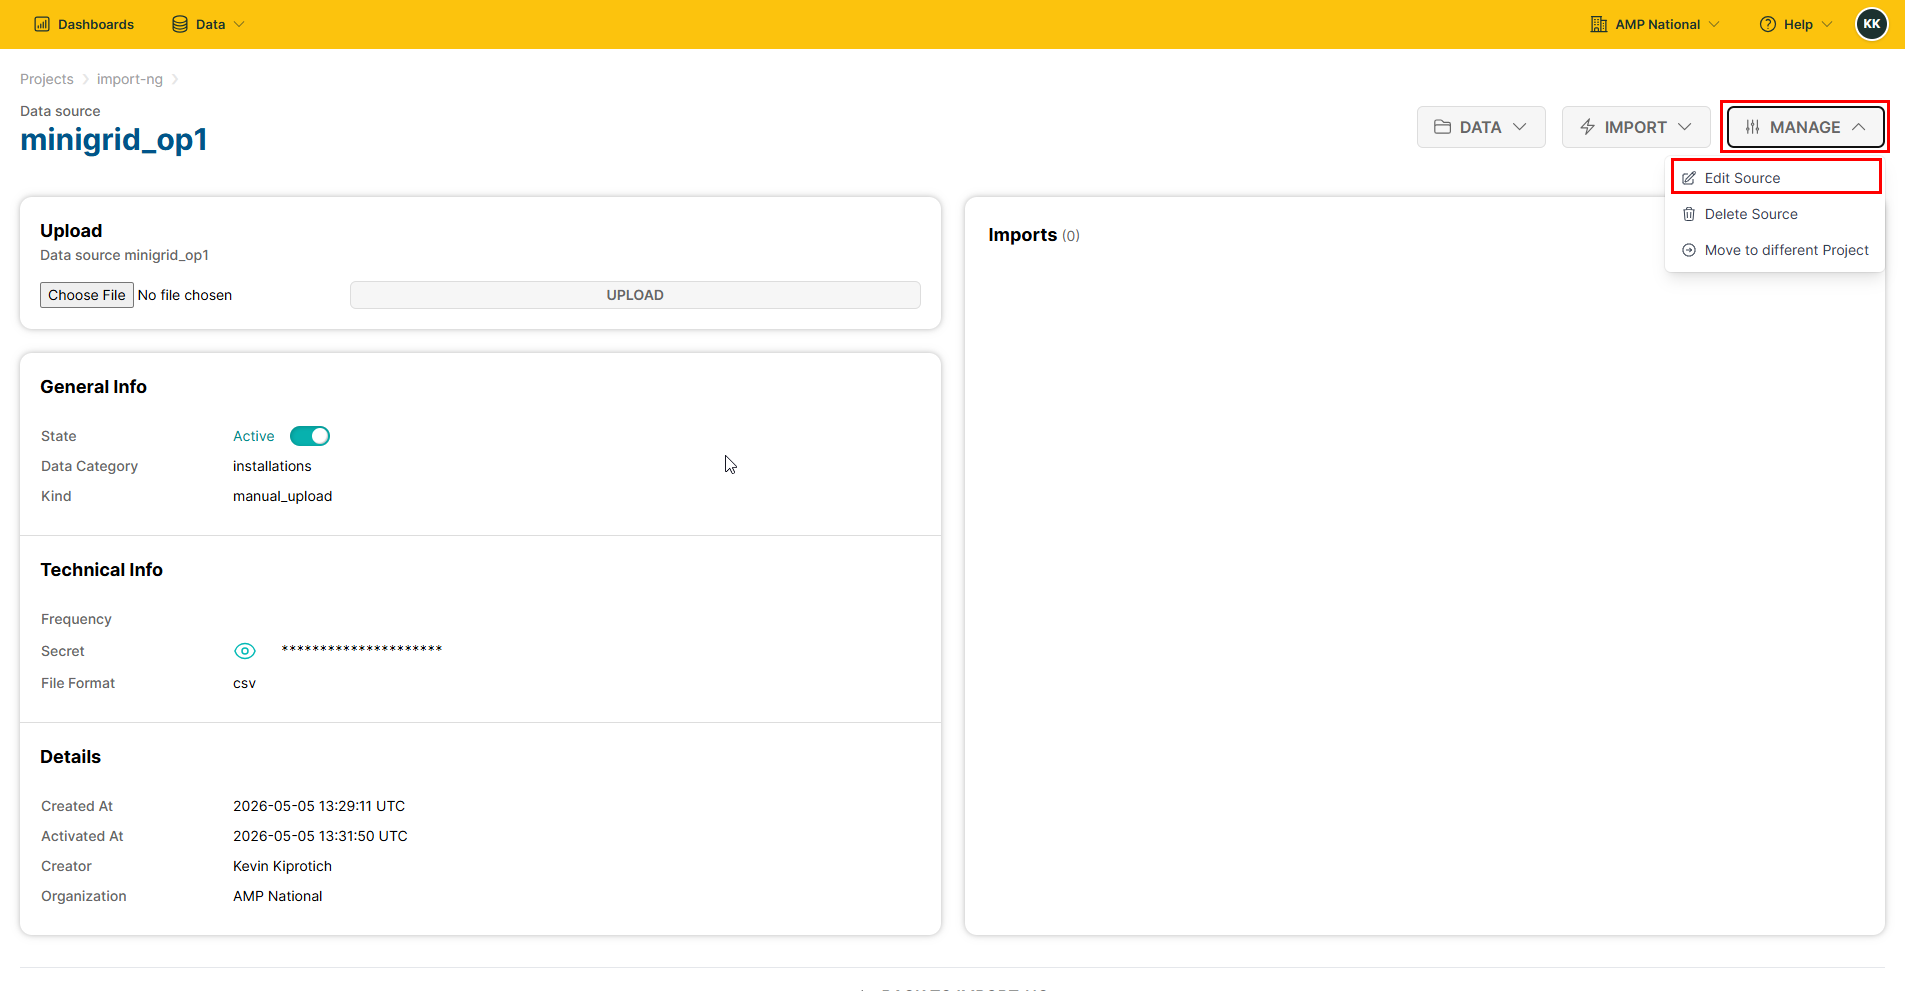
Editing a data source#
On the homepage, click
Dataand selectImport.
Select the data source you want to edit.
Click
MANAGEand selectEdit Source.
Edit the Data Source name and click
NEXT.

Select the level of rejection.

Select the mapping mode, data category and data file format.

Select the file to upload and click
Test.

The system will verify your upload. If the verification is successful, click
Next.

Activate your data source to make it accept data and be used for reporting and click
Finish.

Deleting a Data Source#
On the homepage, click
Dataand selectImport.
Select the data source you want to delete.
Click
MANAGEthen clickDelete Source

Hint
If you had inserted data, you will have to delete the data before you can delete the data source.